
Preserving
for the Perplexed
Preserve your bounty and reduce waste
Preserving questions got you in a pickle? It doesn’t have to be hard. With DIY preserving, you can save money, control your own ingredients, and avoid single-use containers that’ll end up in the landfill.
Add more fun to your fermentation with our simple guides! Start with the two-part video series, Preserving for the Perplexed. Jen, Mike, and Paula (and “expert tasters” Sarah from Route 11 Chips and Clare from Virginia Chutney Company) will have you laughing all the way to perfect preserves. For most of these recipes, you won’t need anything beyond what’s already in your kitchen.
In Episode 1: Pickles, Jen and Mike make easy pickles with infinite adaptations, both for flavor and technique. Learn Mike’s secret Appalachian pickle recipe (and what the in-laws think of it), and why Jen’s making something she’ll never eat herself.
In Episode 2: Yogurt, Paula brings her inimitable English (and Armenian) take on traditional yogurt. Who knew it was this easy (and that Paula’s Ph.D. in chemistry isn’t really needed)? Mike, ever the iconoclast, goes dairy-free, and does amazing things with cashews. Vegan or dairy, savory or sweet, homemade yogurt offers unlimited options, with no weird additives or single-serve, non-recyclable containers in sight.
Finally, as a special bonus, enjoy two recipes from Jen's and Paula's respective culinary traditions. Paula’s rhubarb chutney and Jen’s peach habanero salsa will have you rushing for the cheese and tortilla chips and dreaming of your own variations.

Water Bath Canning

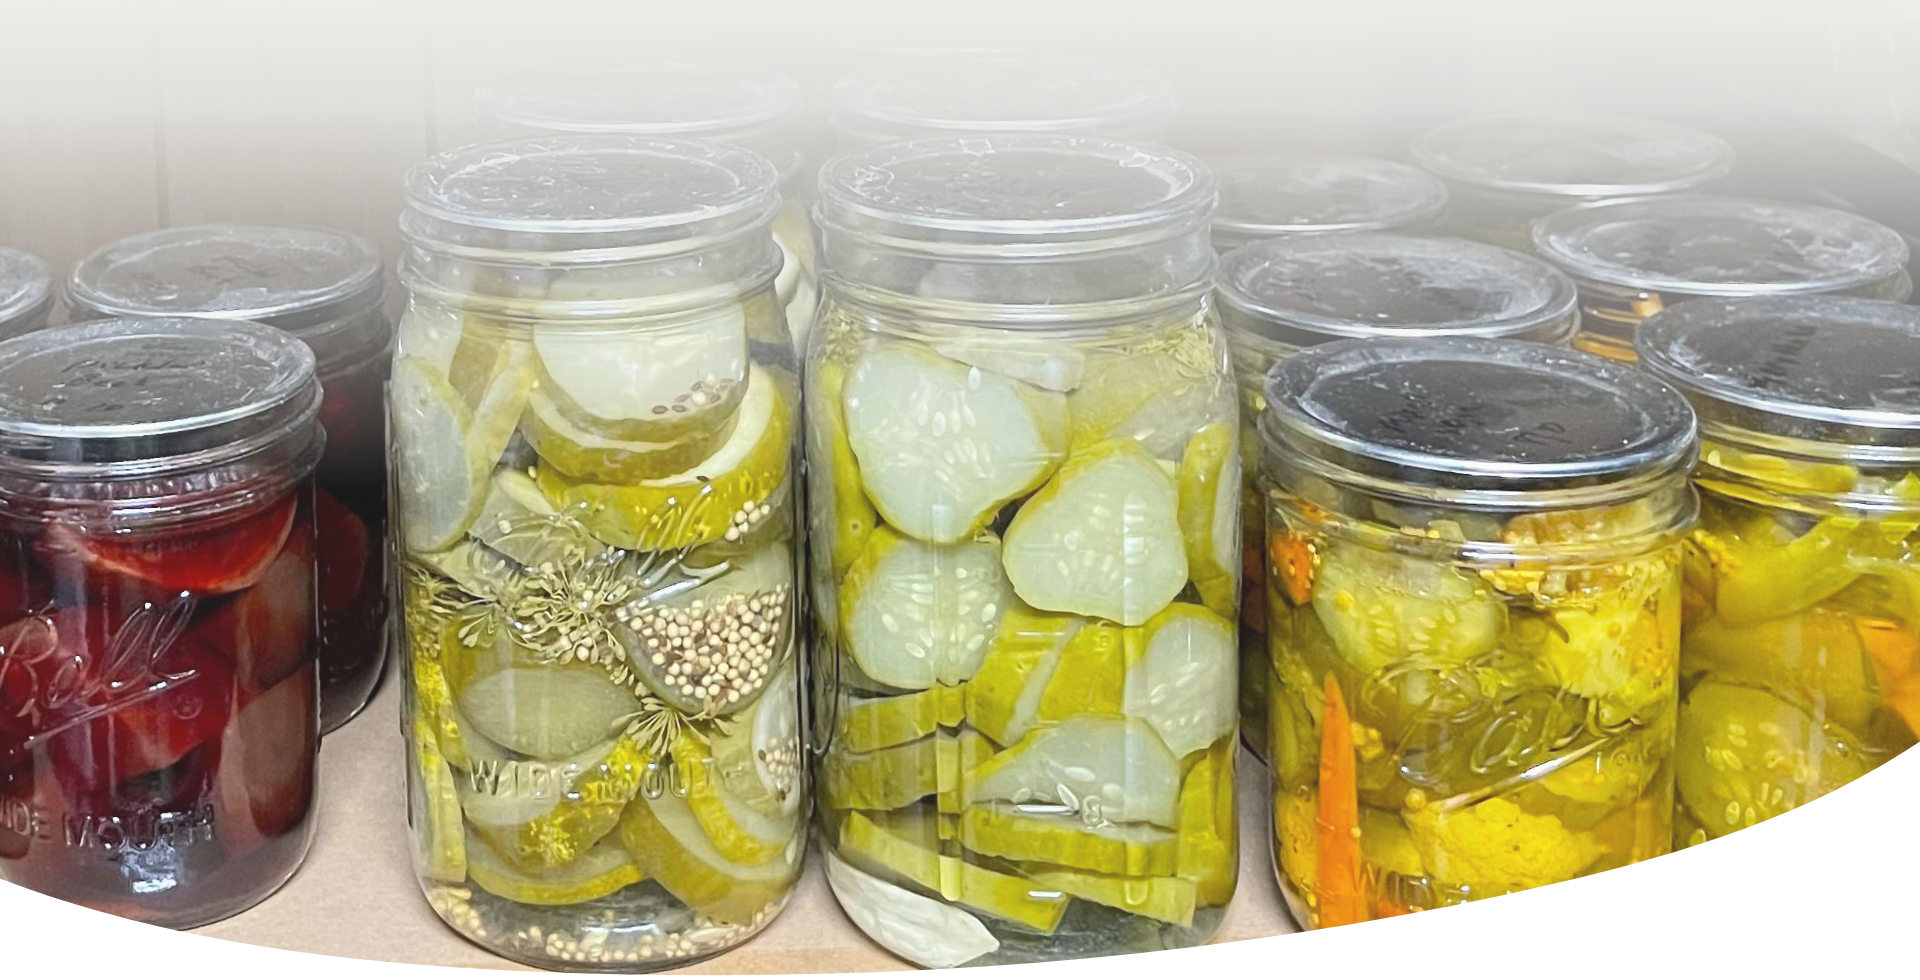
For the preserving video demos, we chose entry-level recipes that won’t require novice preservers to buy equipment or learn tricky techniques. Once cooked and canned, those recipes store easily in the fridge or freezer (or on the countertop, for Mike’s fermented pickles). The holy grail for preserving, however, is long-term shelf-stability: preserves you can store for a year without refrigeration. You know, like Grandma (or someone’s grandma, somewhere) had in the root cellar.
To channel Grandma, you’ll have to level up to water bath or steam canning. Below is a starter guide to steps and supplies.
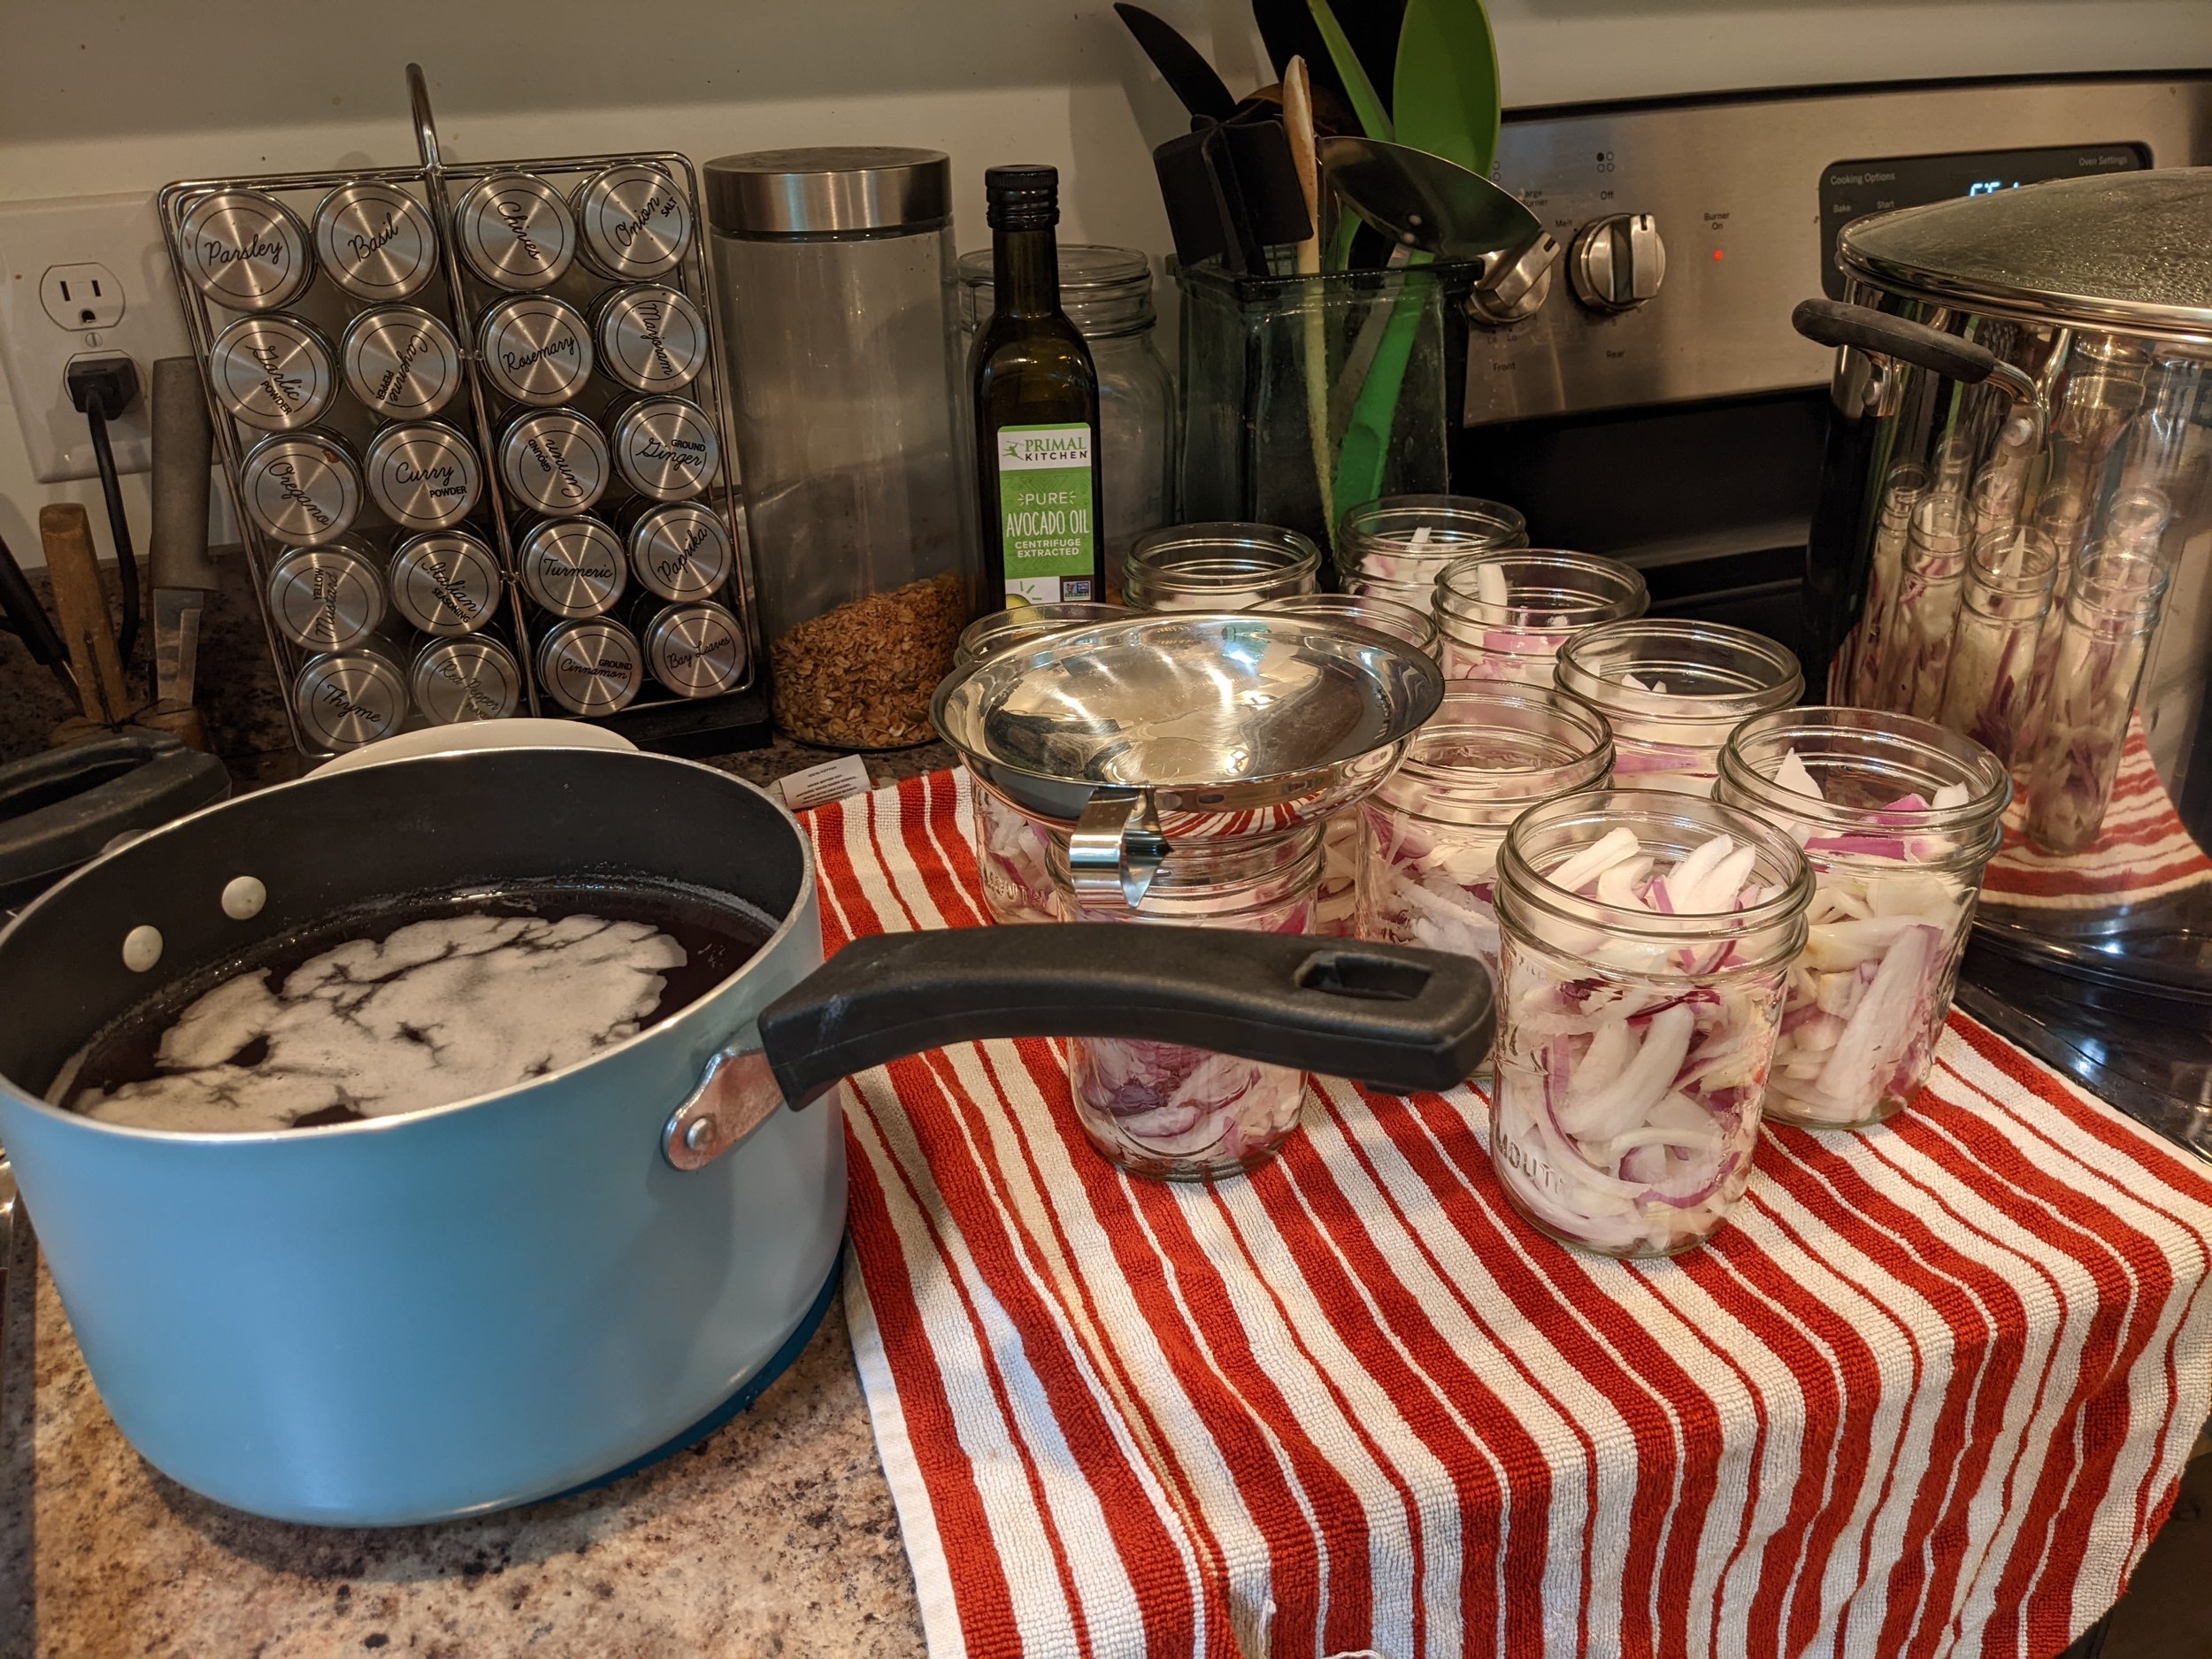
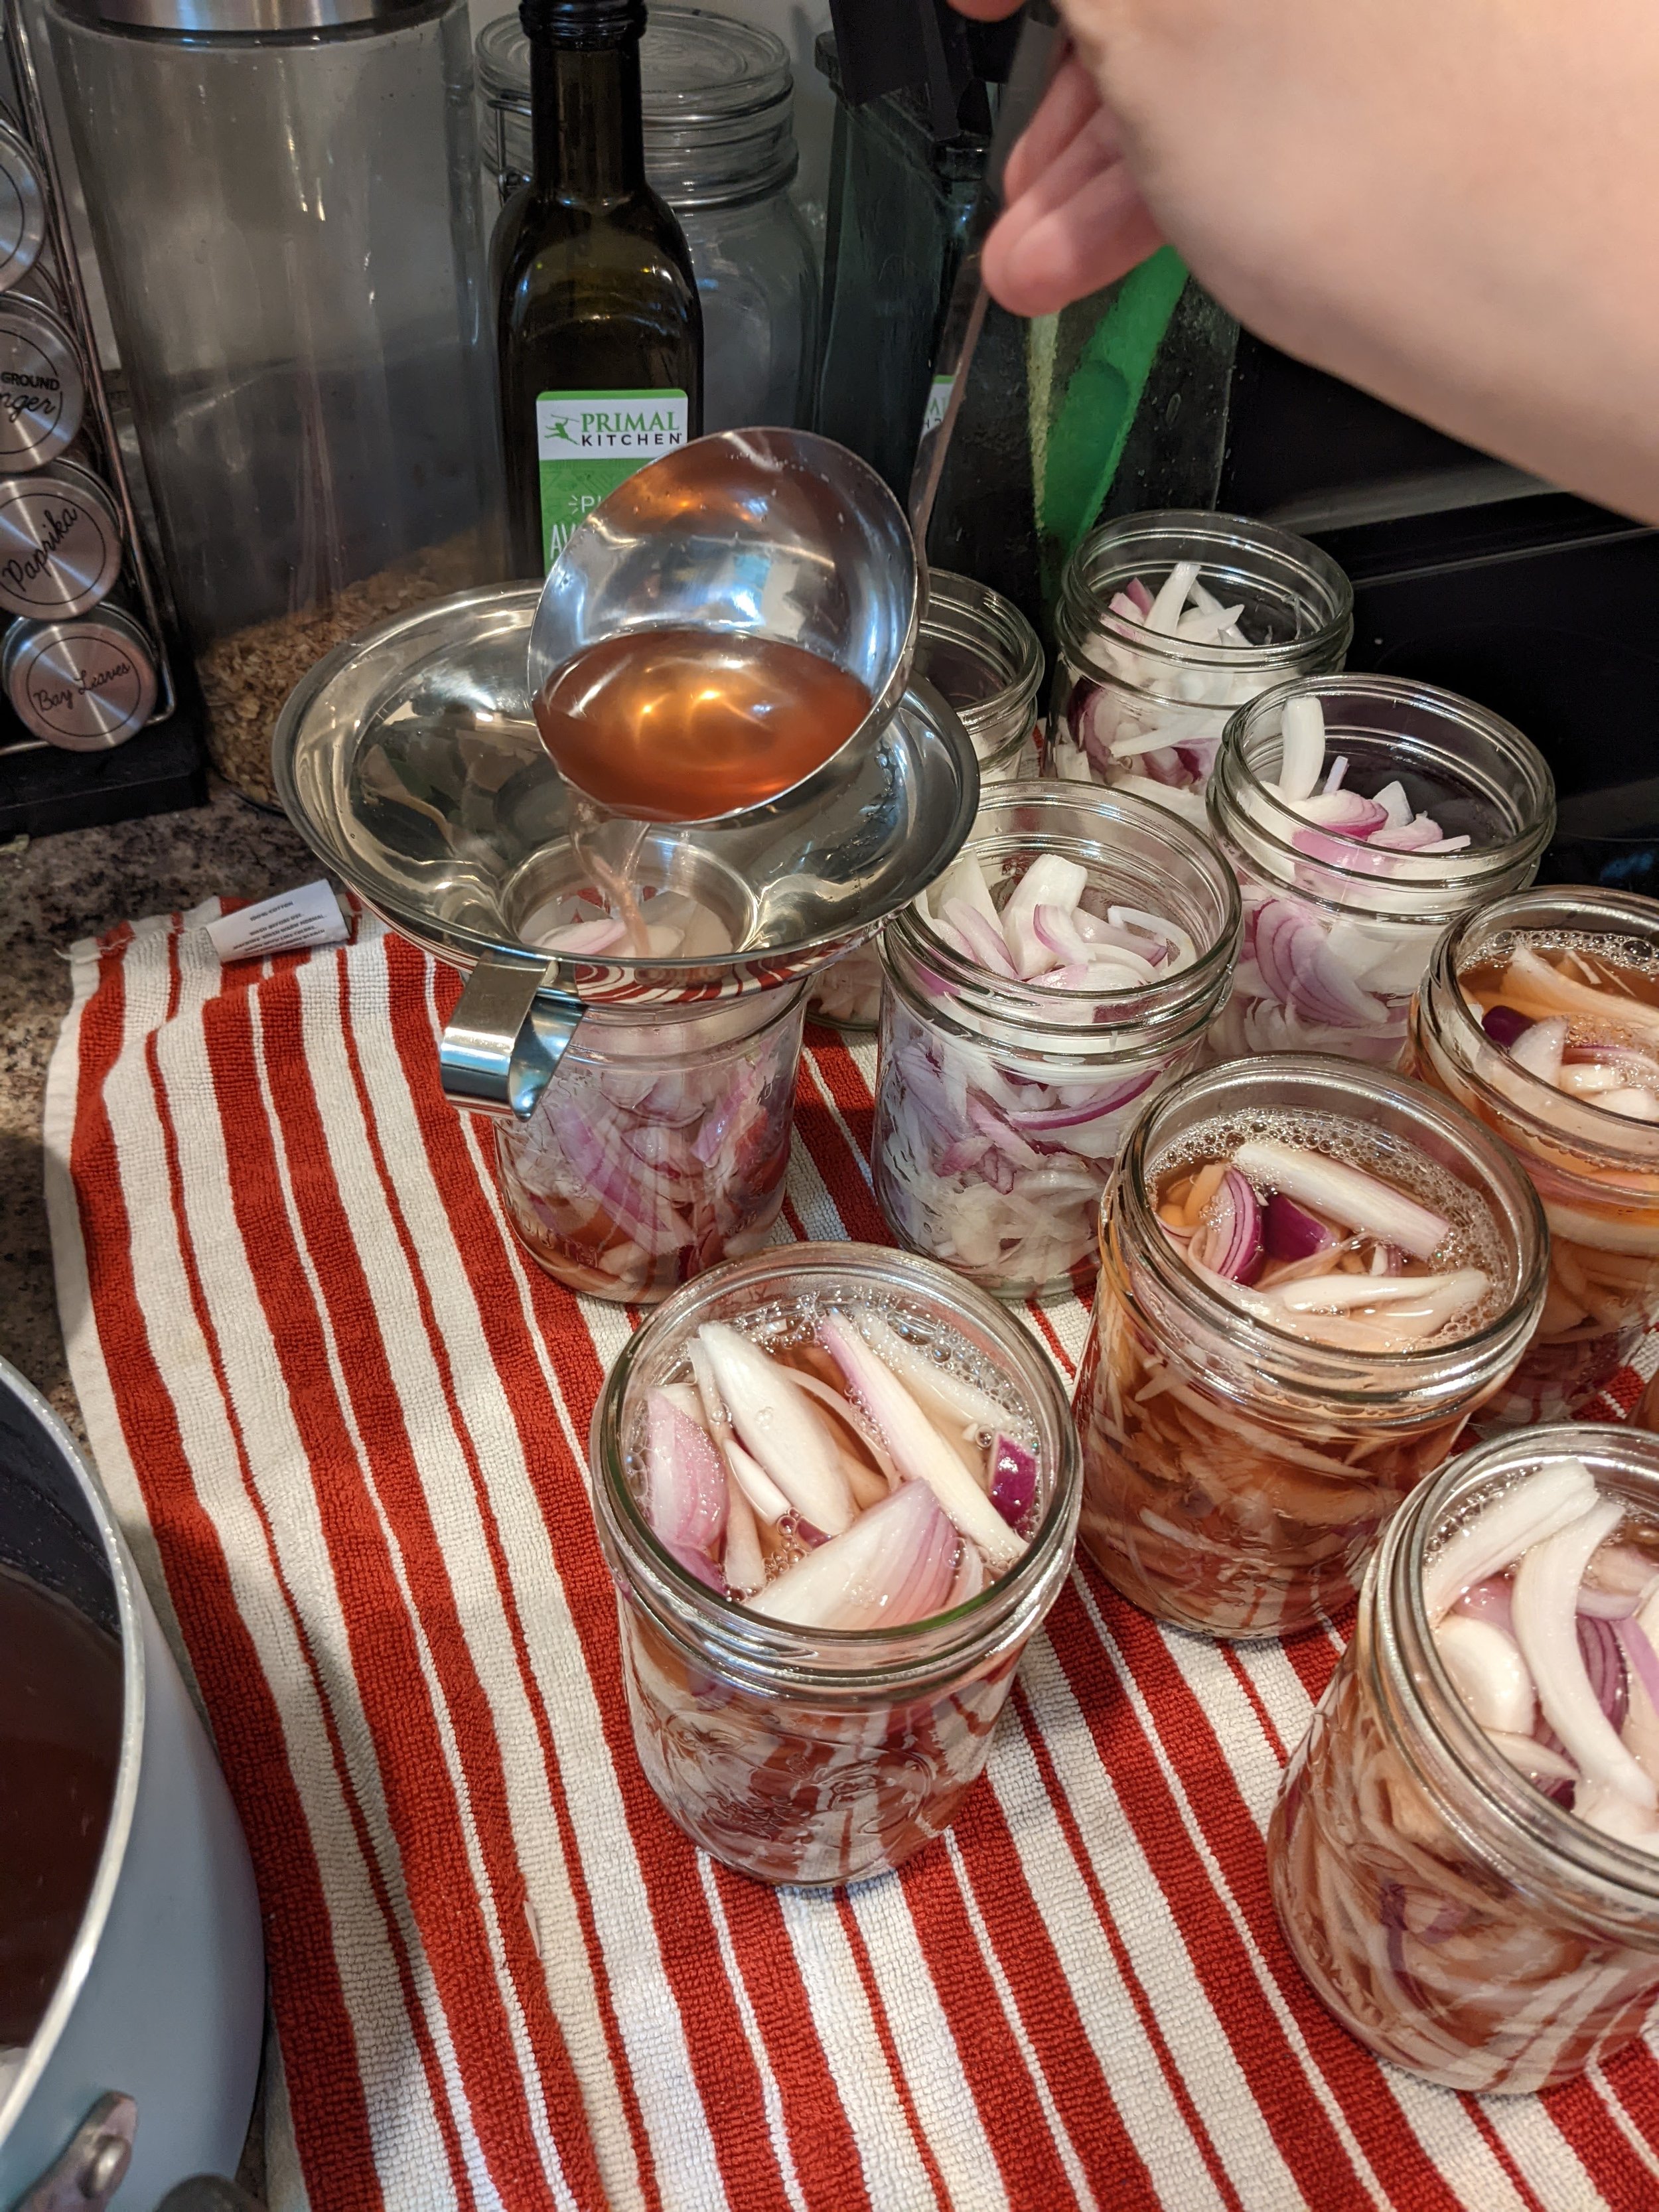
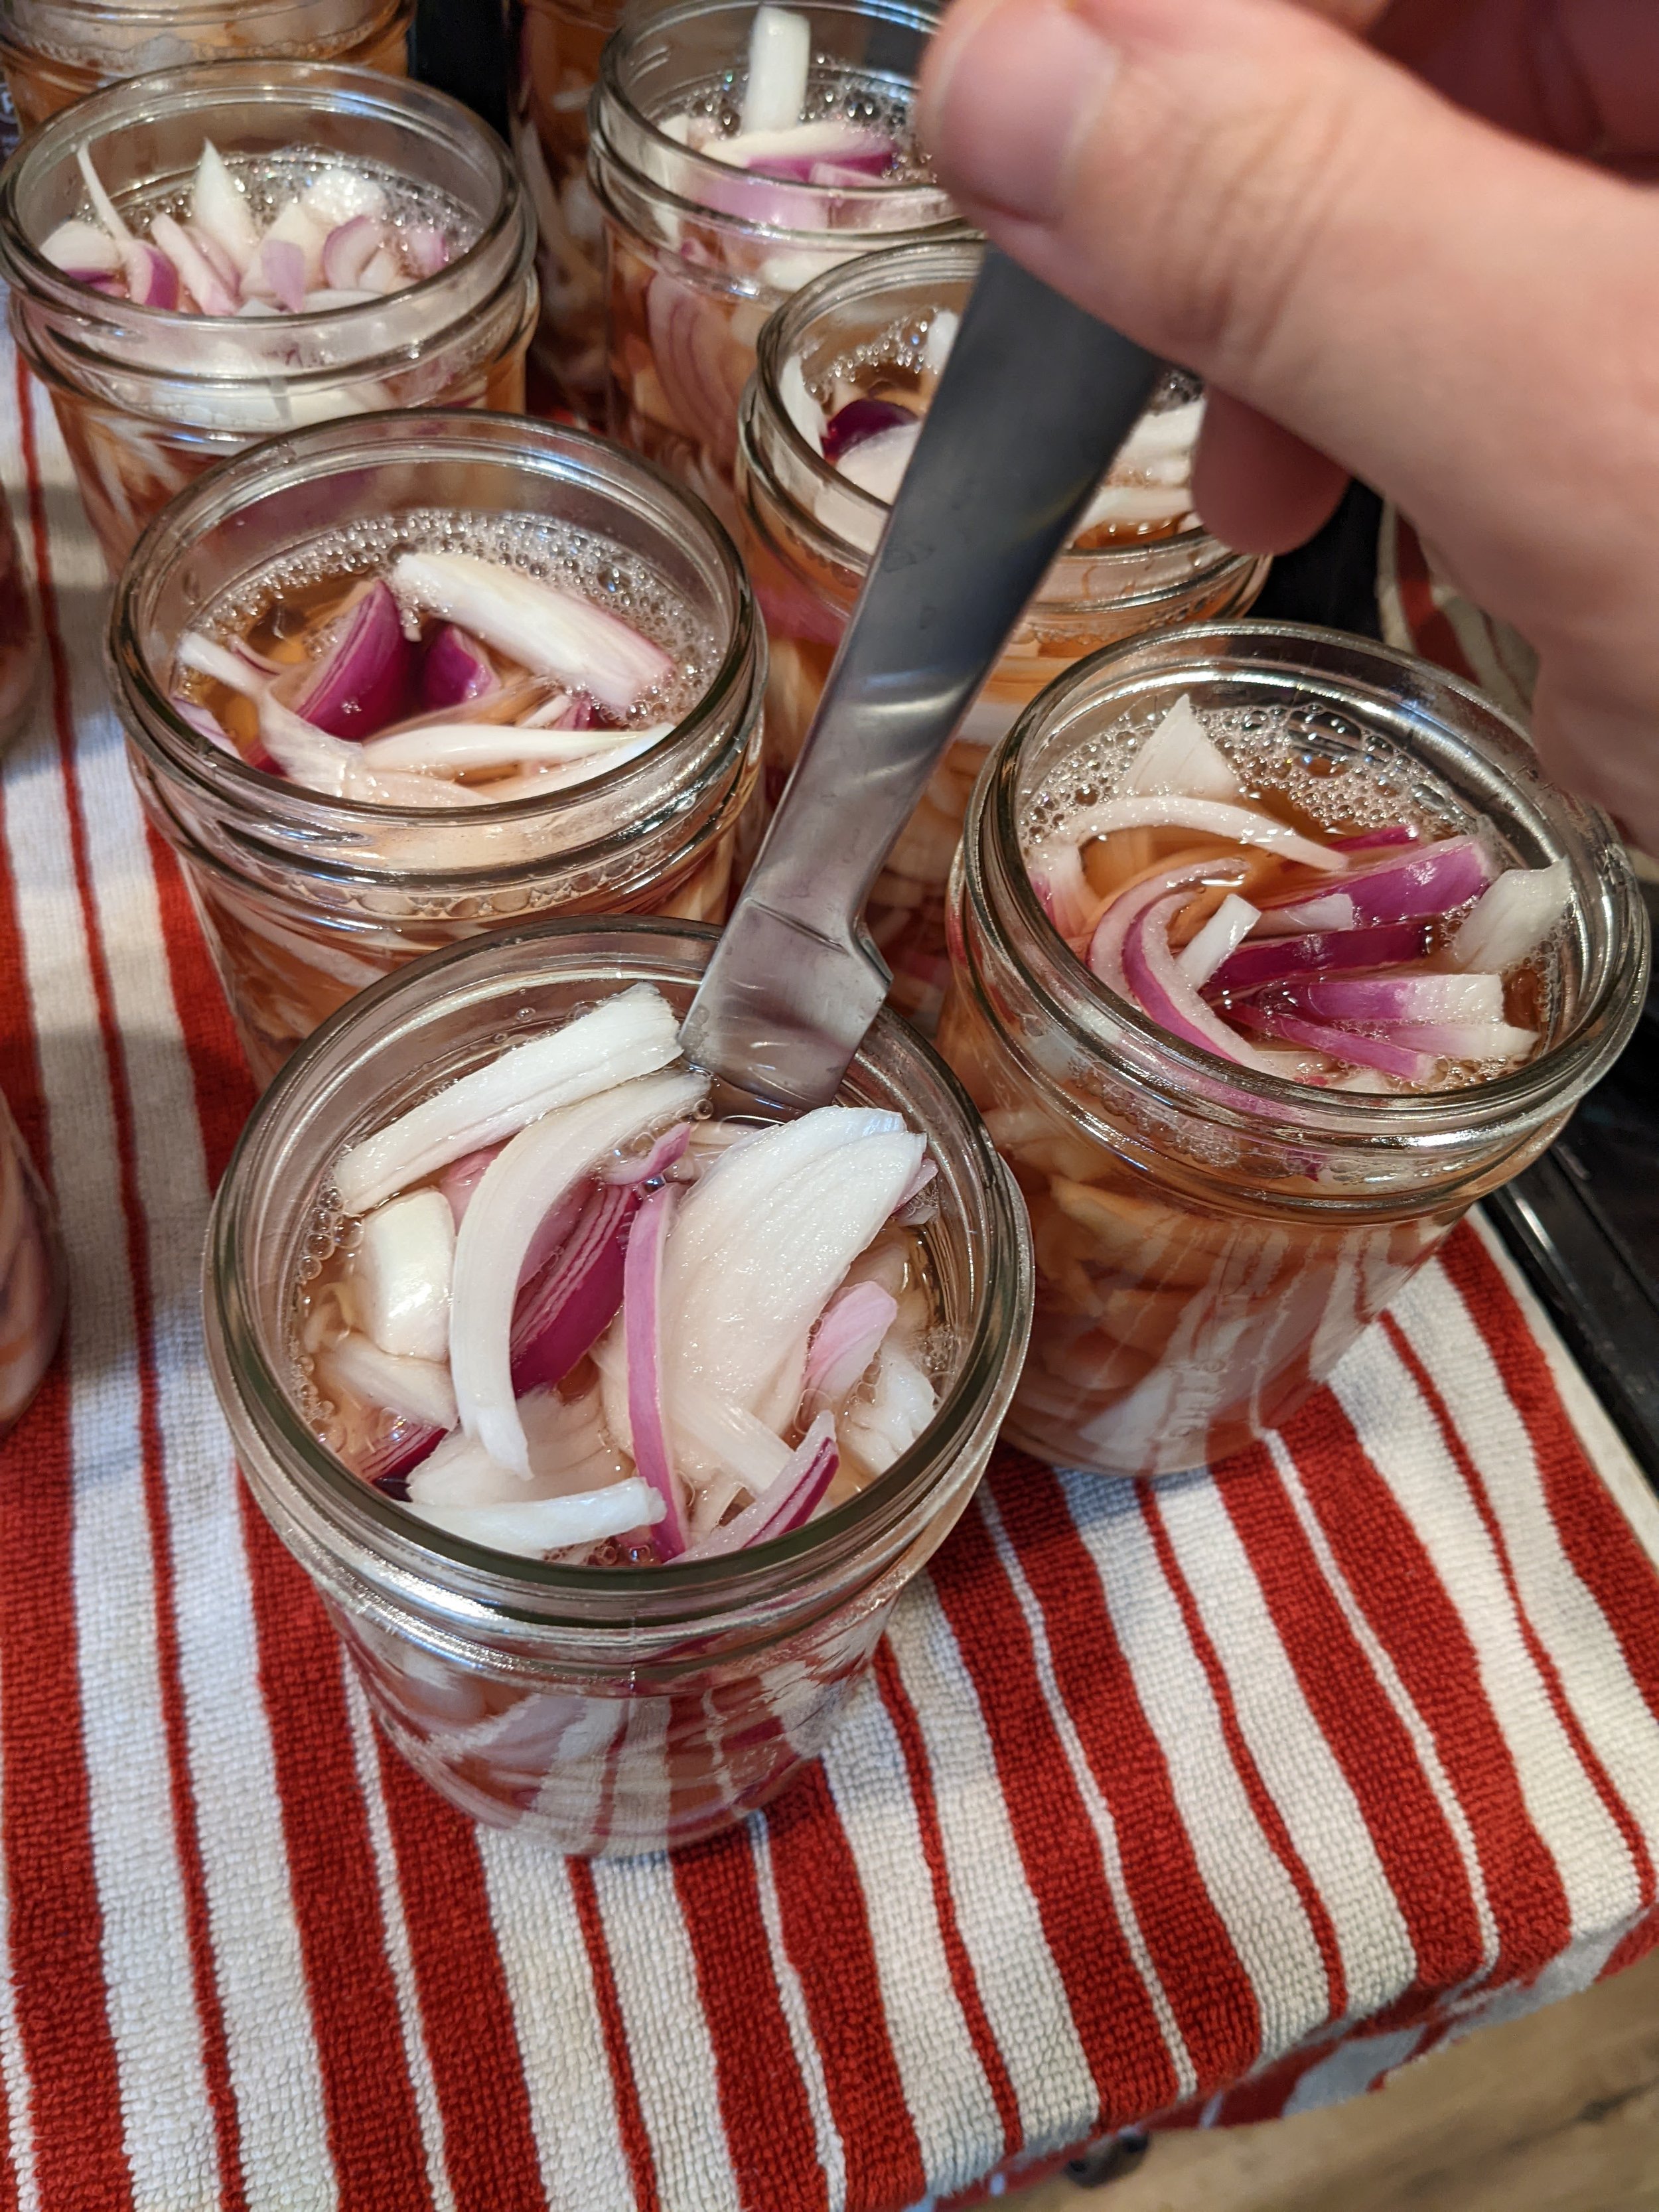
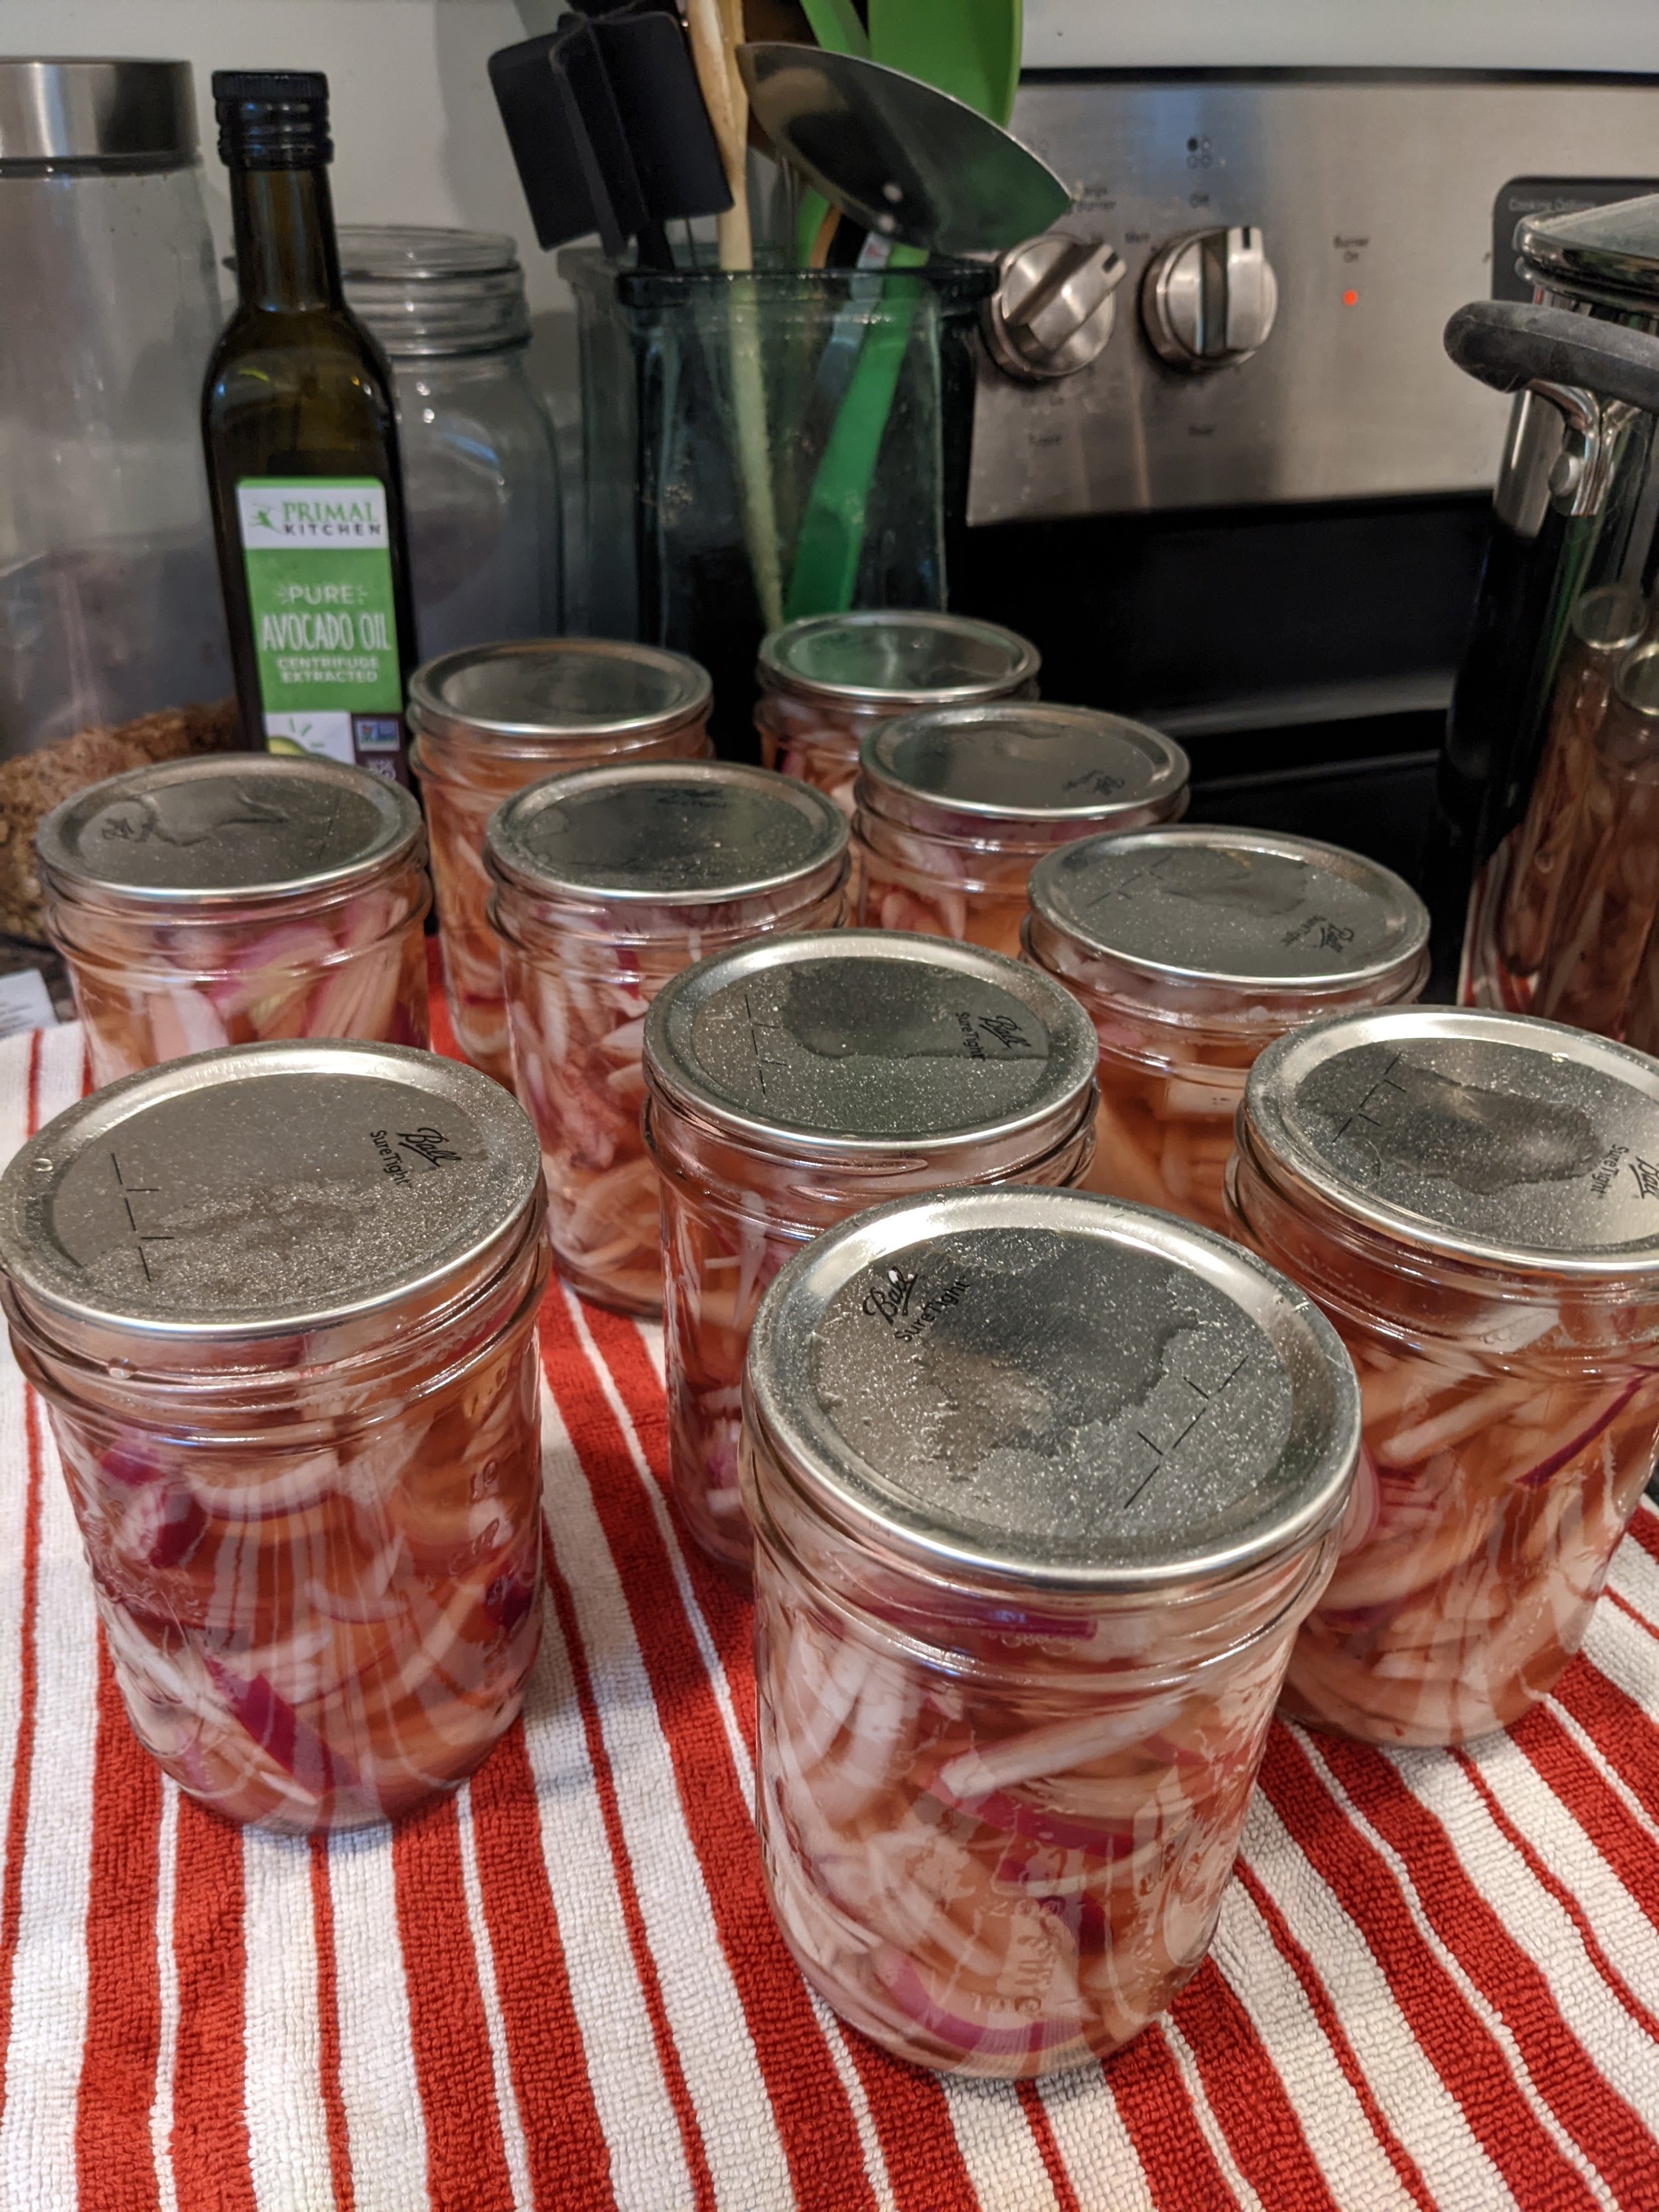
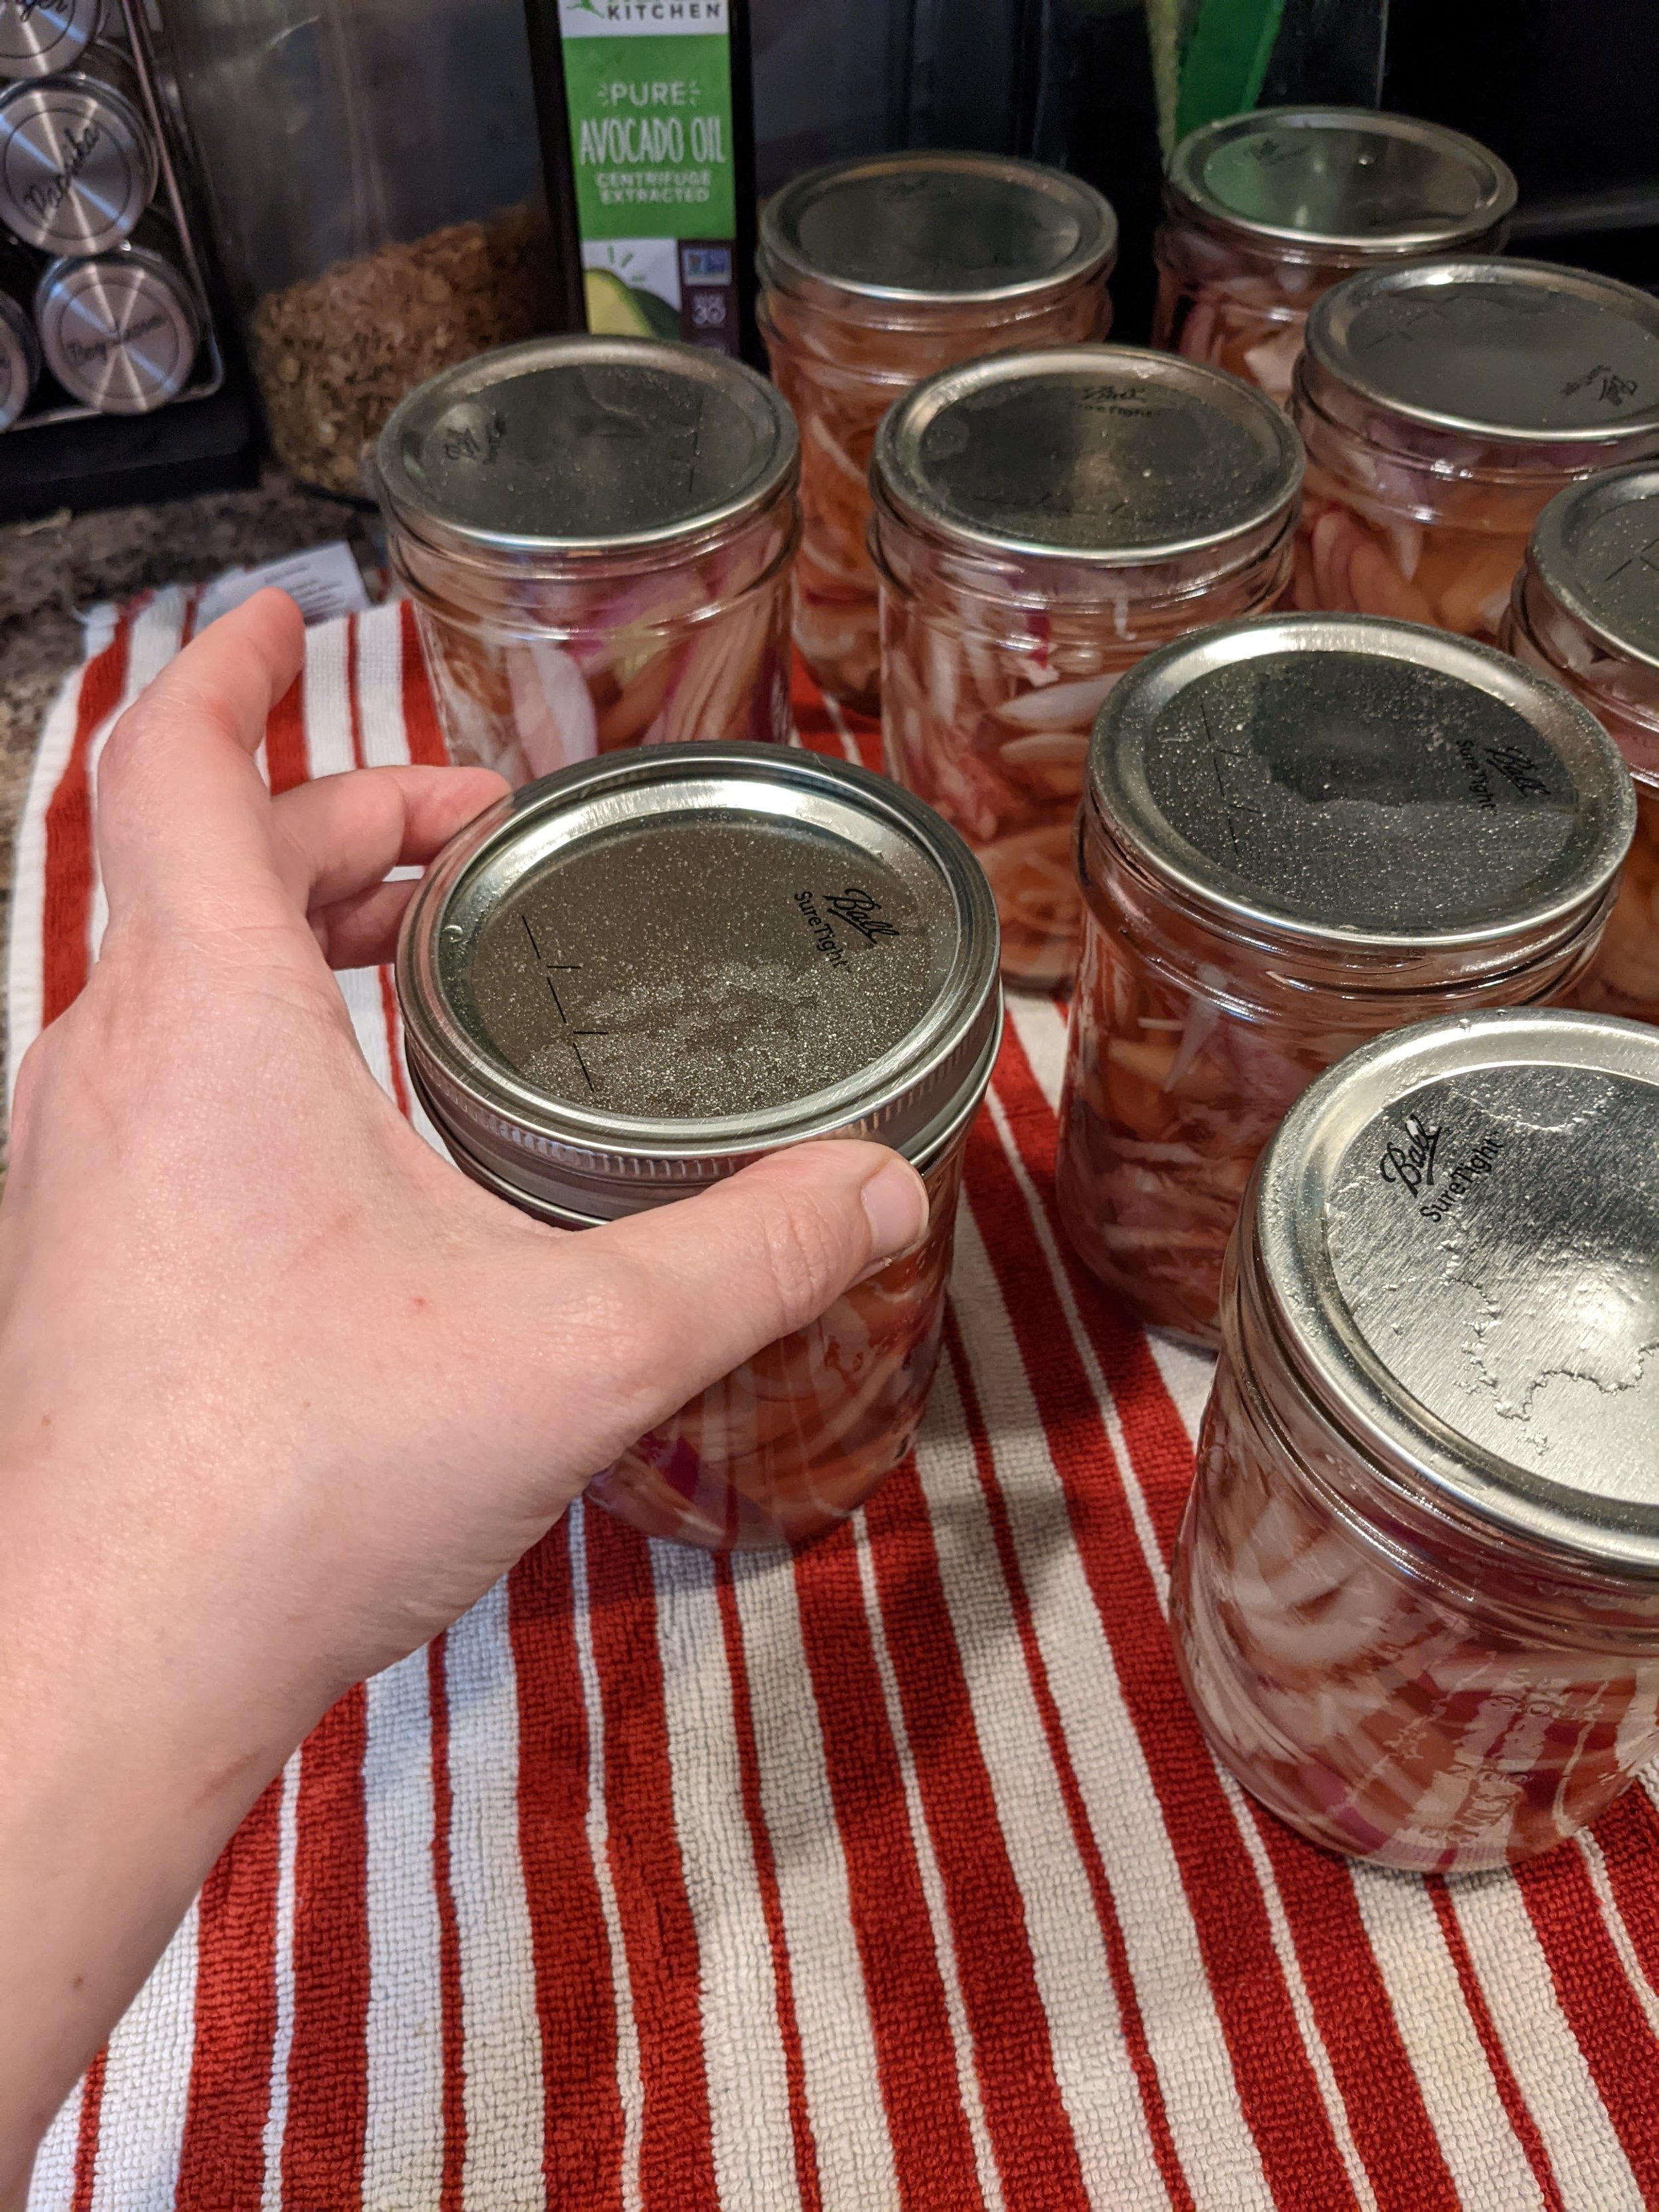
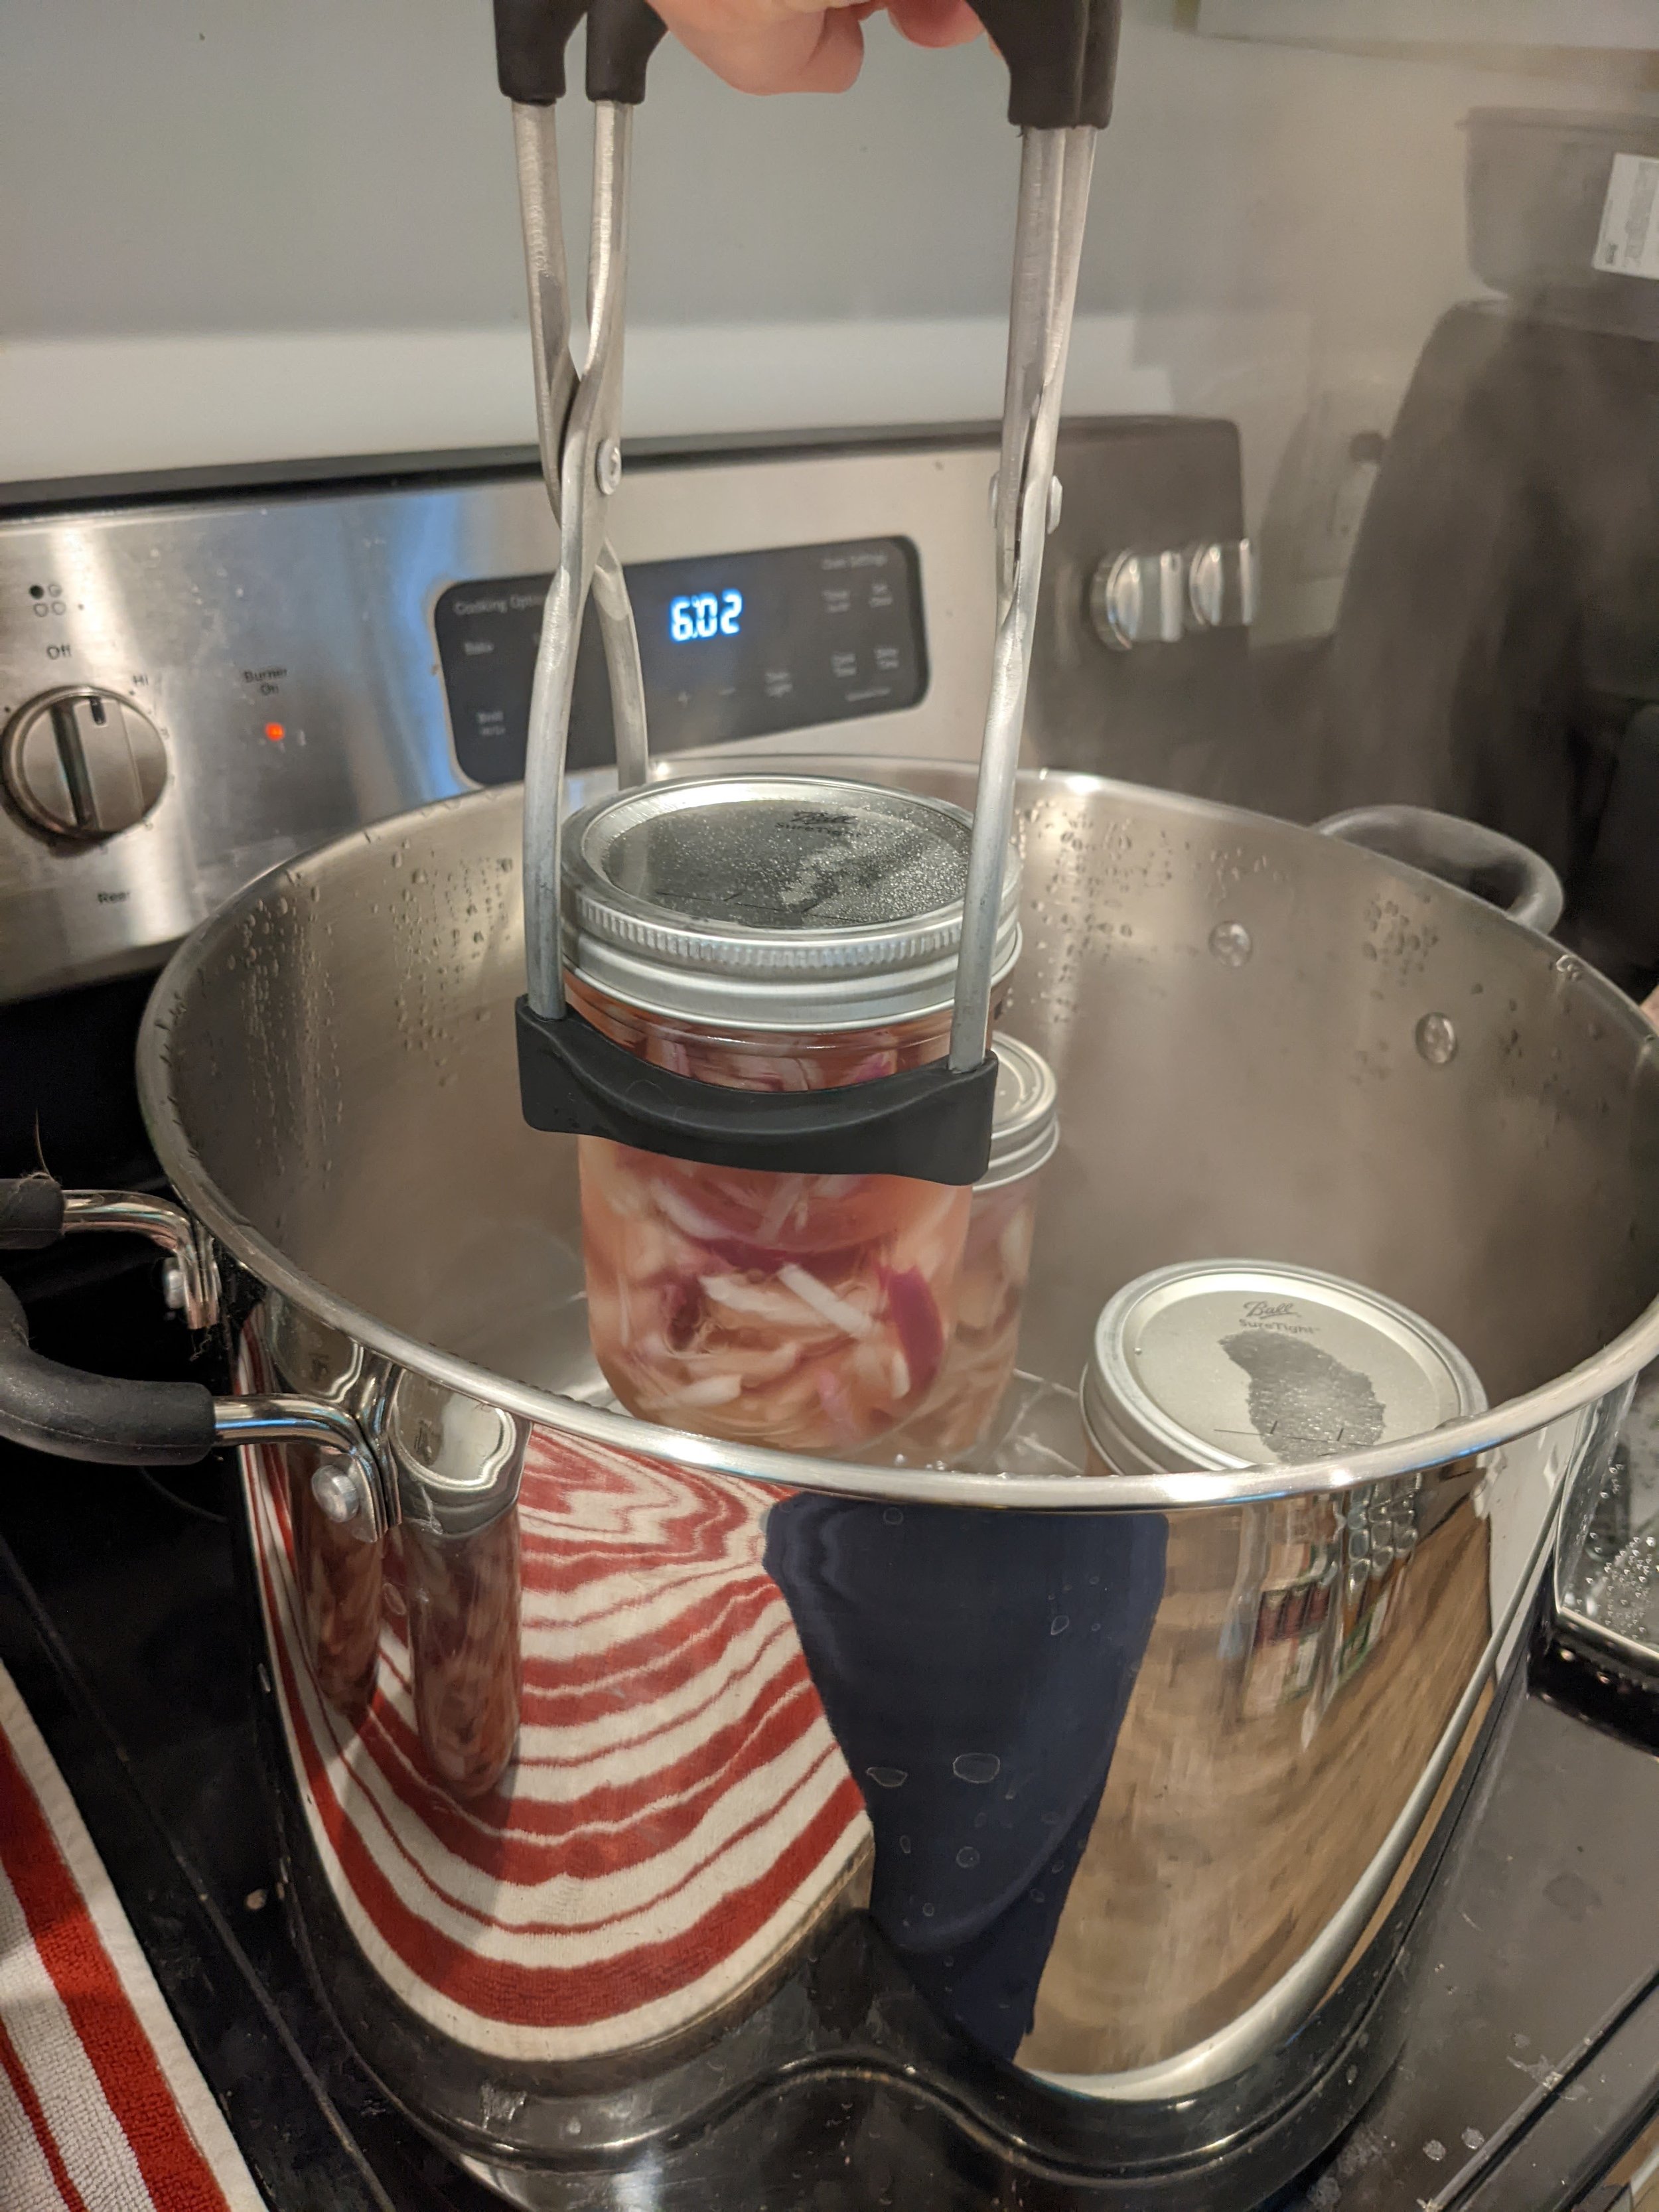
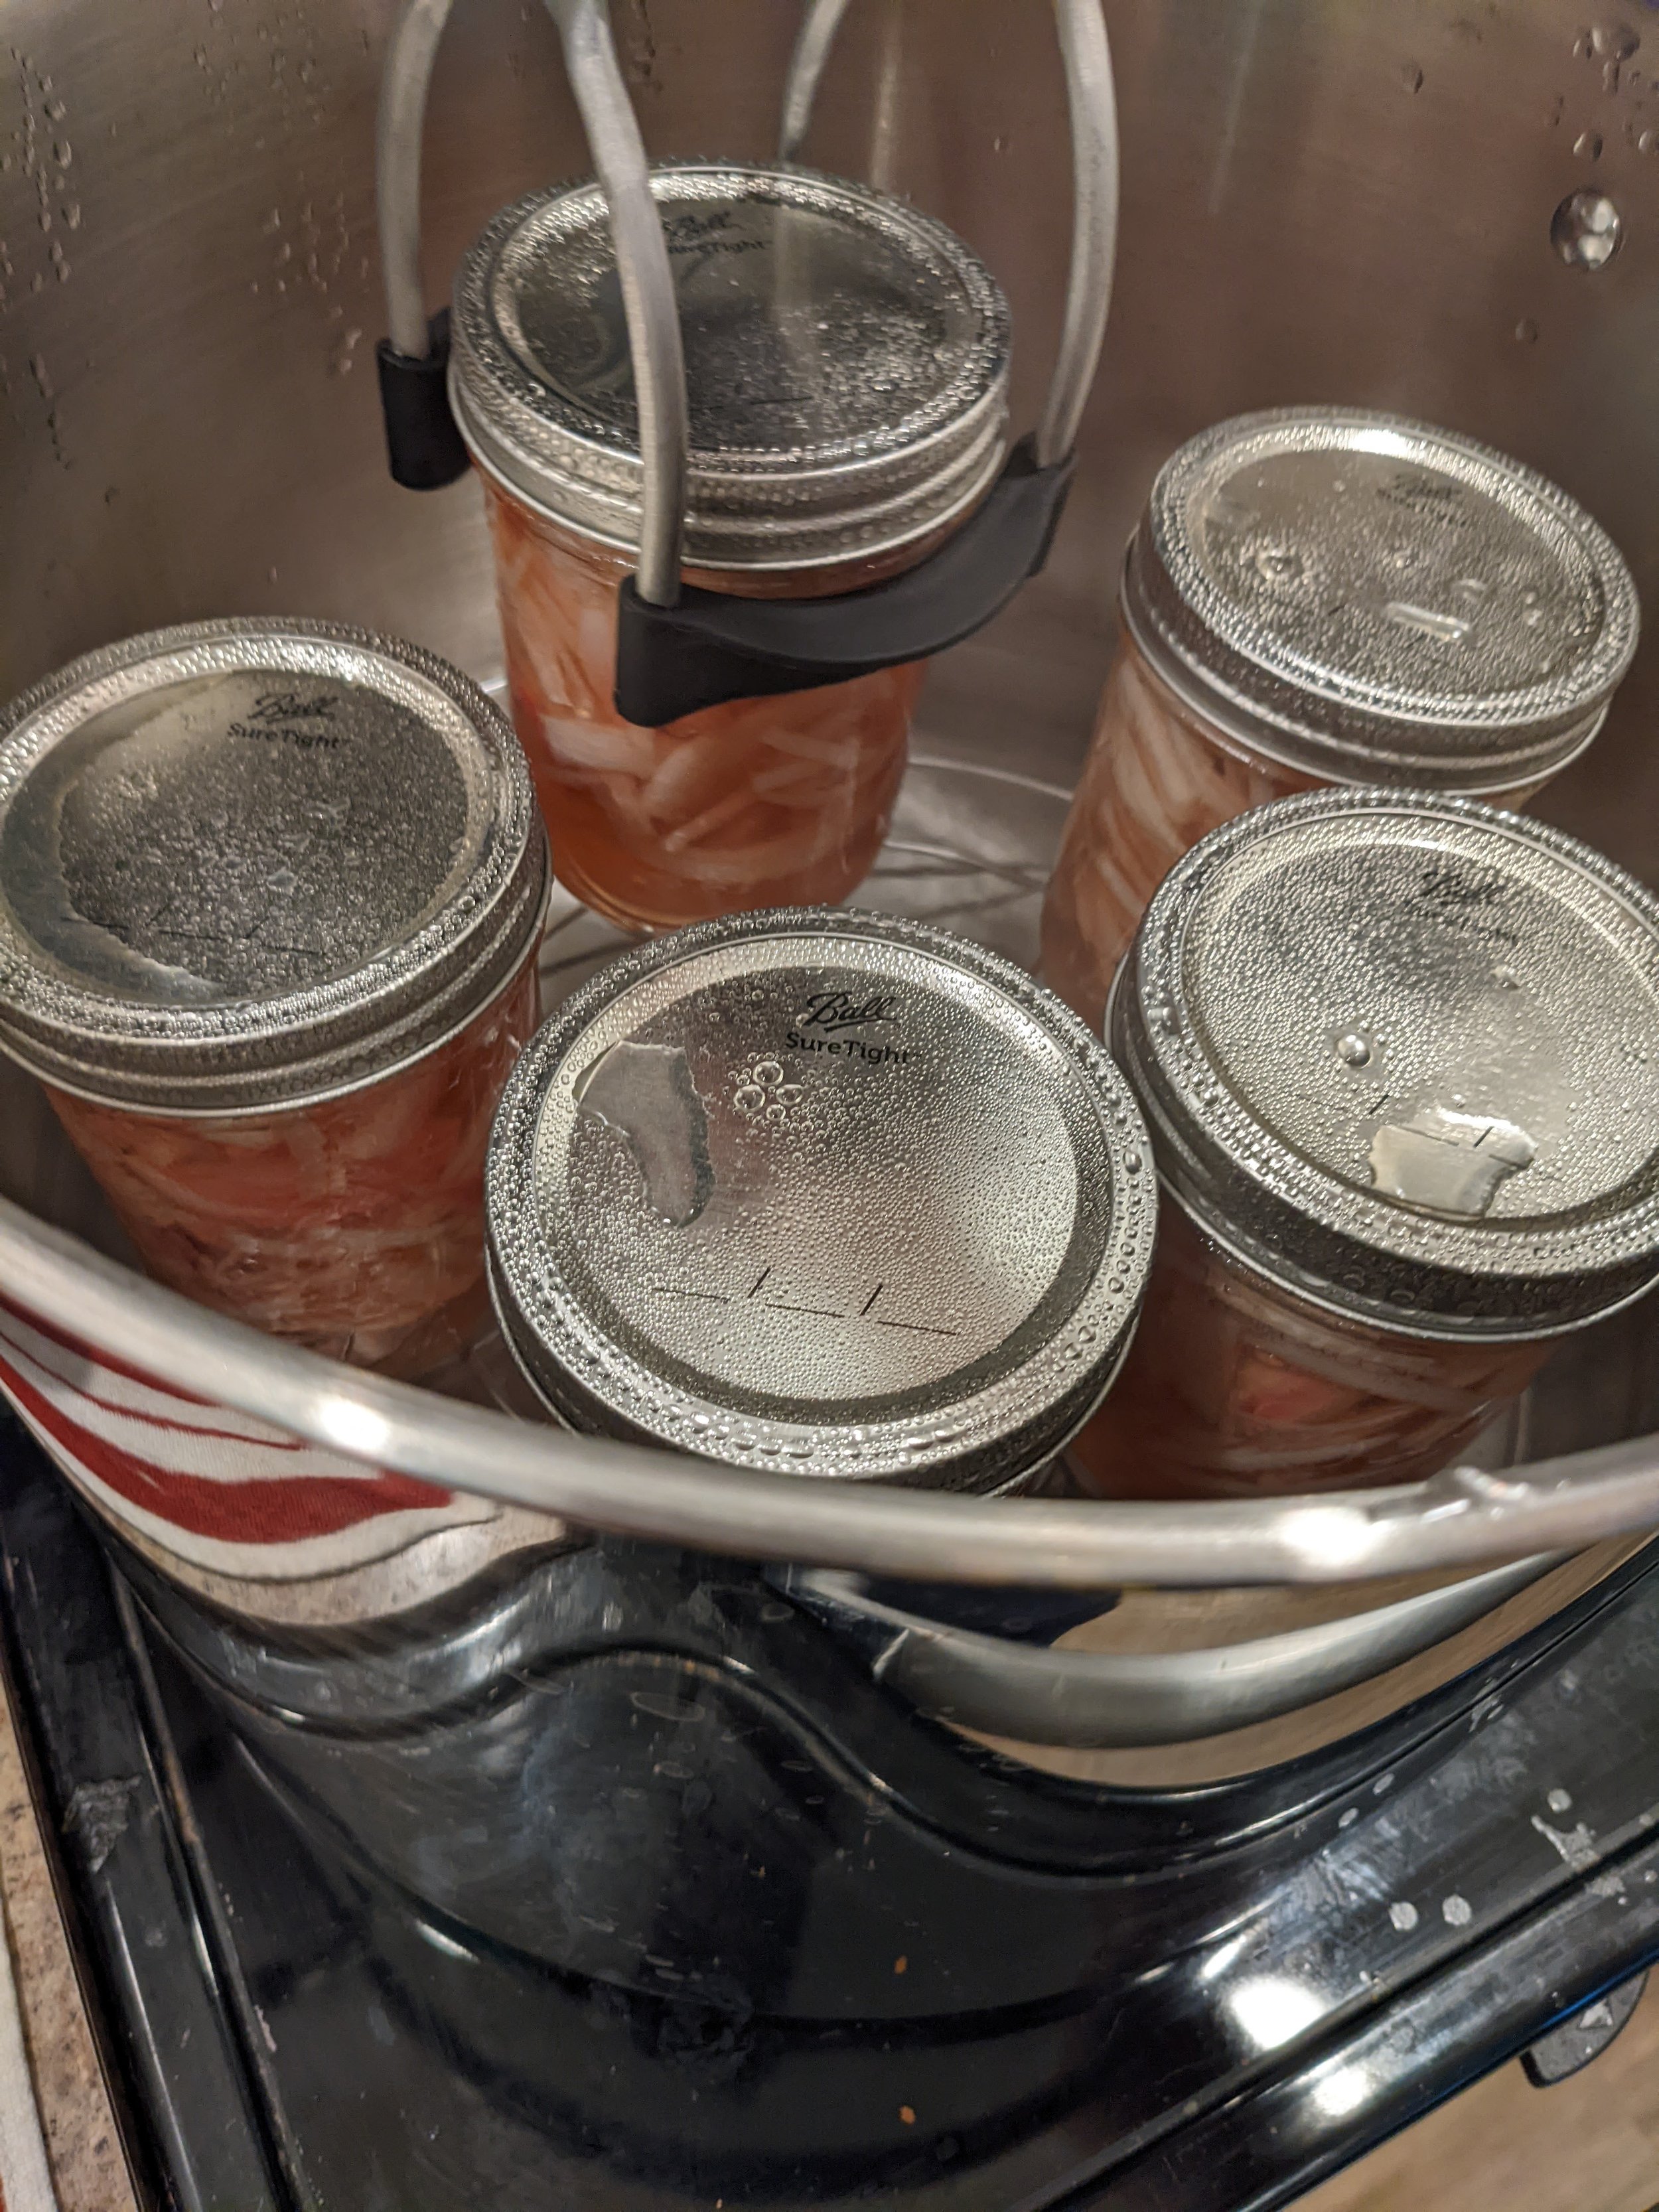
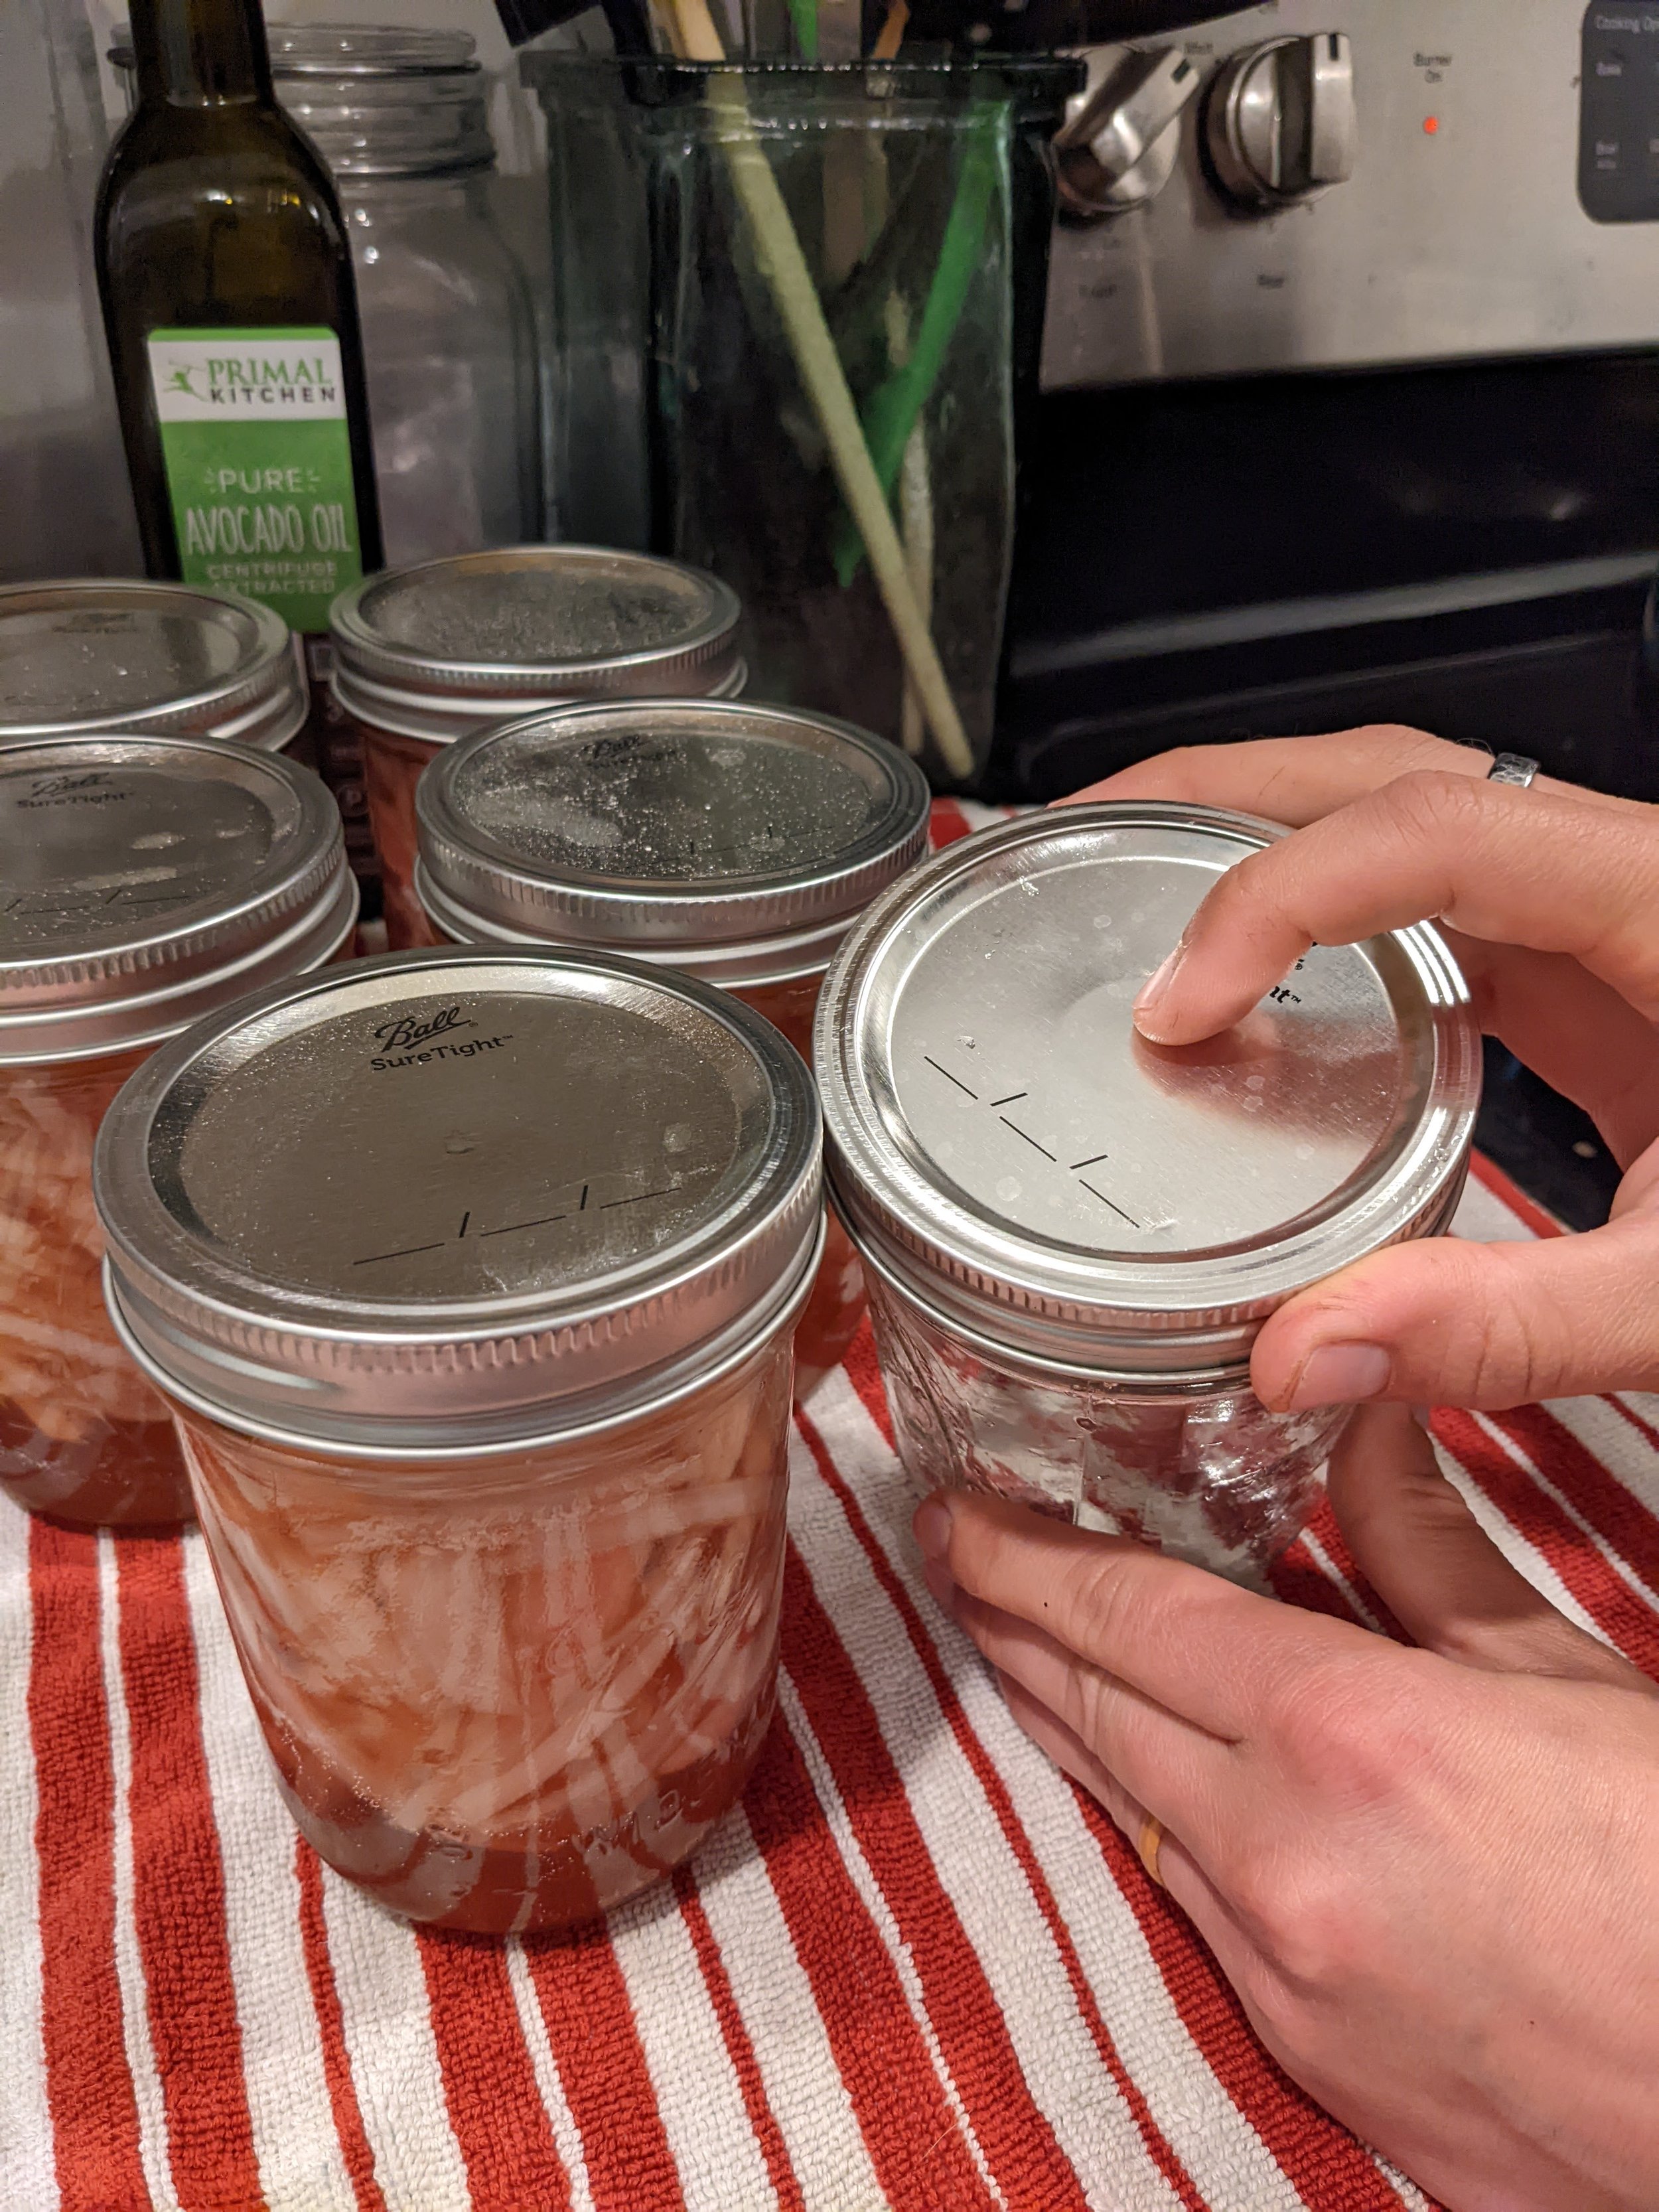
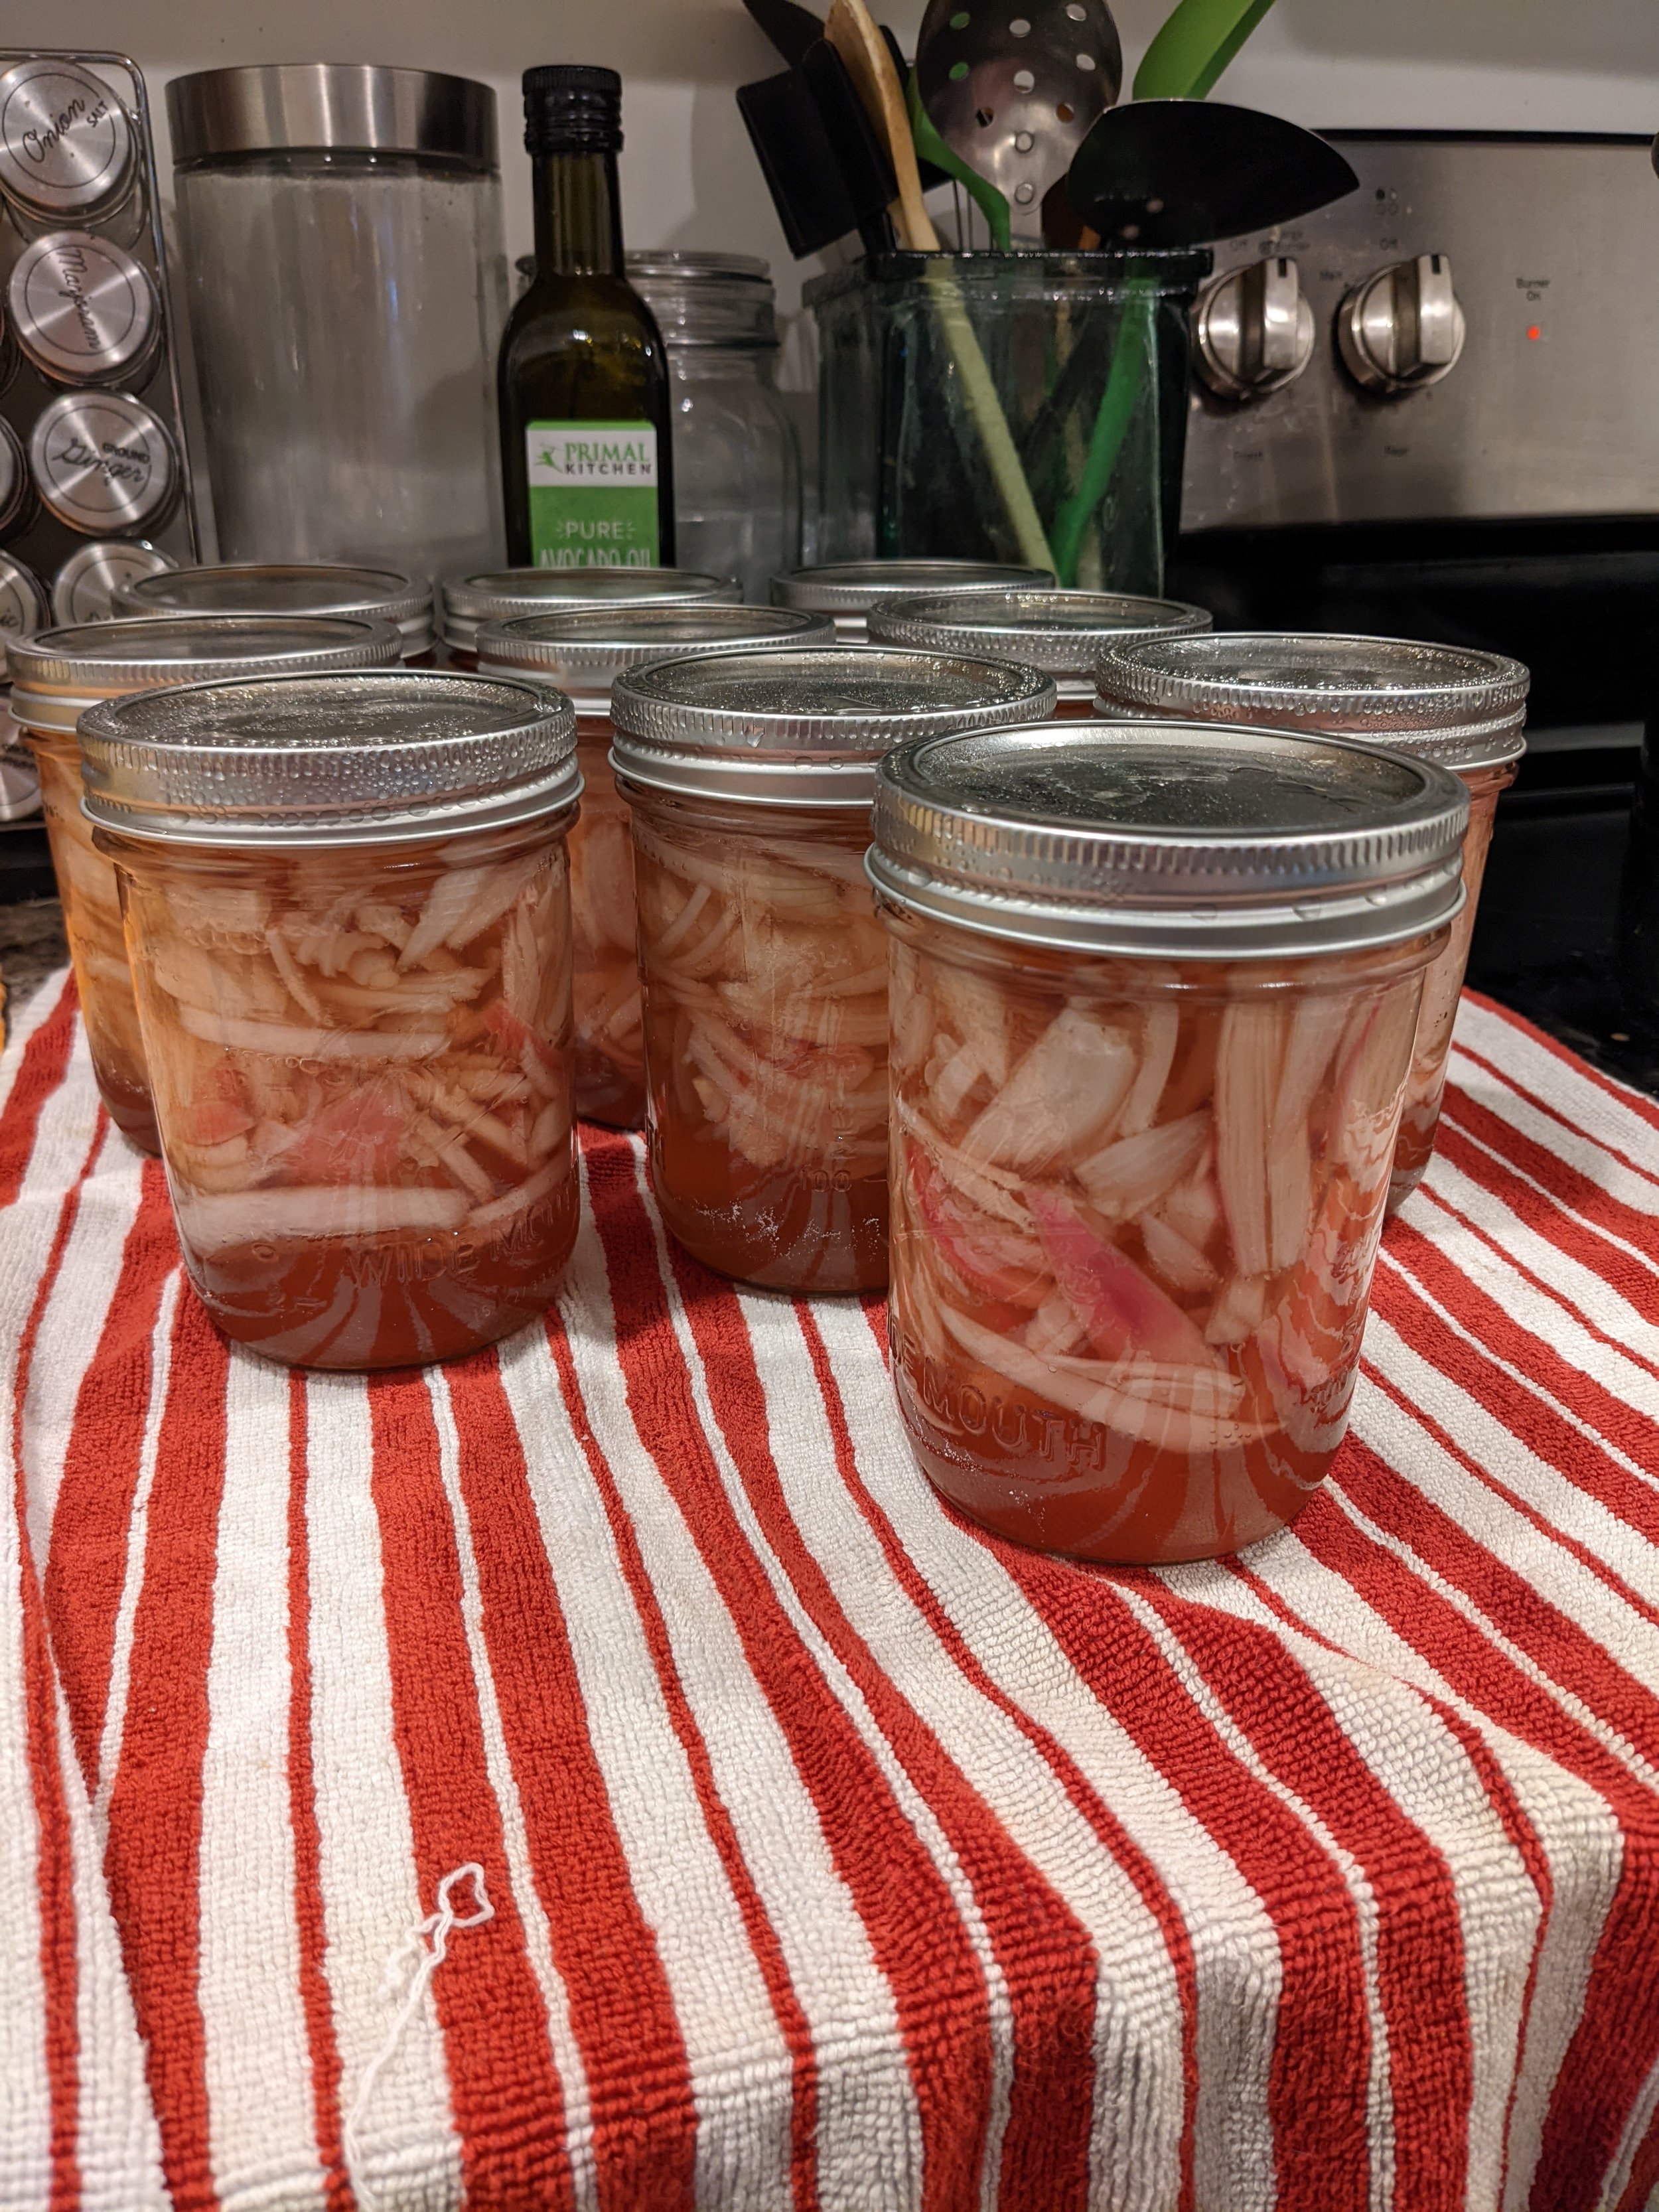
Vital Safety Note: You can’t water bath everything! Only high acidity foods, like tomatoes or some fruit, or lower acidity foods pickled in a very high acid brine (lots of vinegar), like the onions shown in the photo guide below, or foods with a lot of sugar (jams), can be water bath canned. Many vegetables, like green beans, as well as soups or liquids that can’t be pickled in brine, are generally pressure canned. That’s a different set of equipment, and not a technique we recommend Perplexed Preservers try just yet. So make sure the recipe you use is appropriate for water bath canning (Mike’s pickles and both Chutney & Salsa videos work fine for water bath), and has full instructions. If it doesn’t say it’s a water bath recipe, it’s not safe to use this technique. Try water bath for something that’s meant for pressure canning, and you’re heading for botulism.
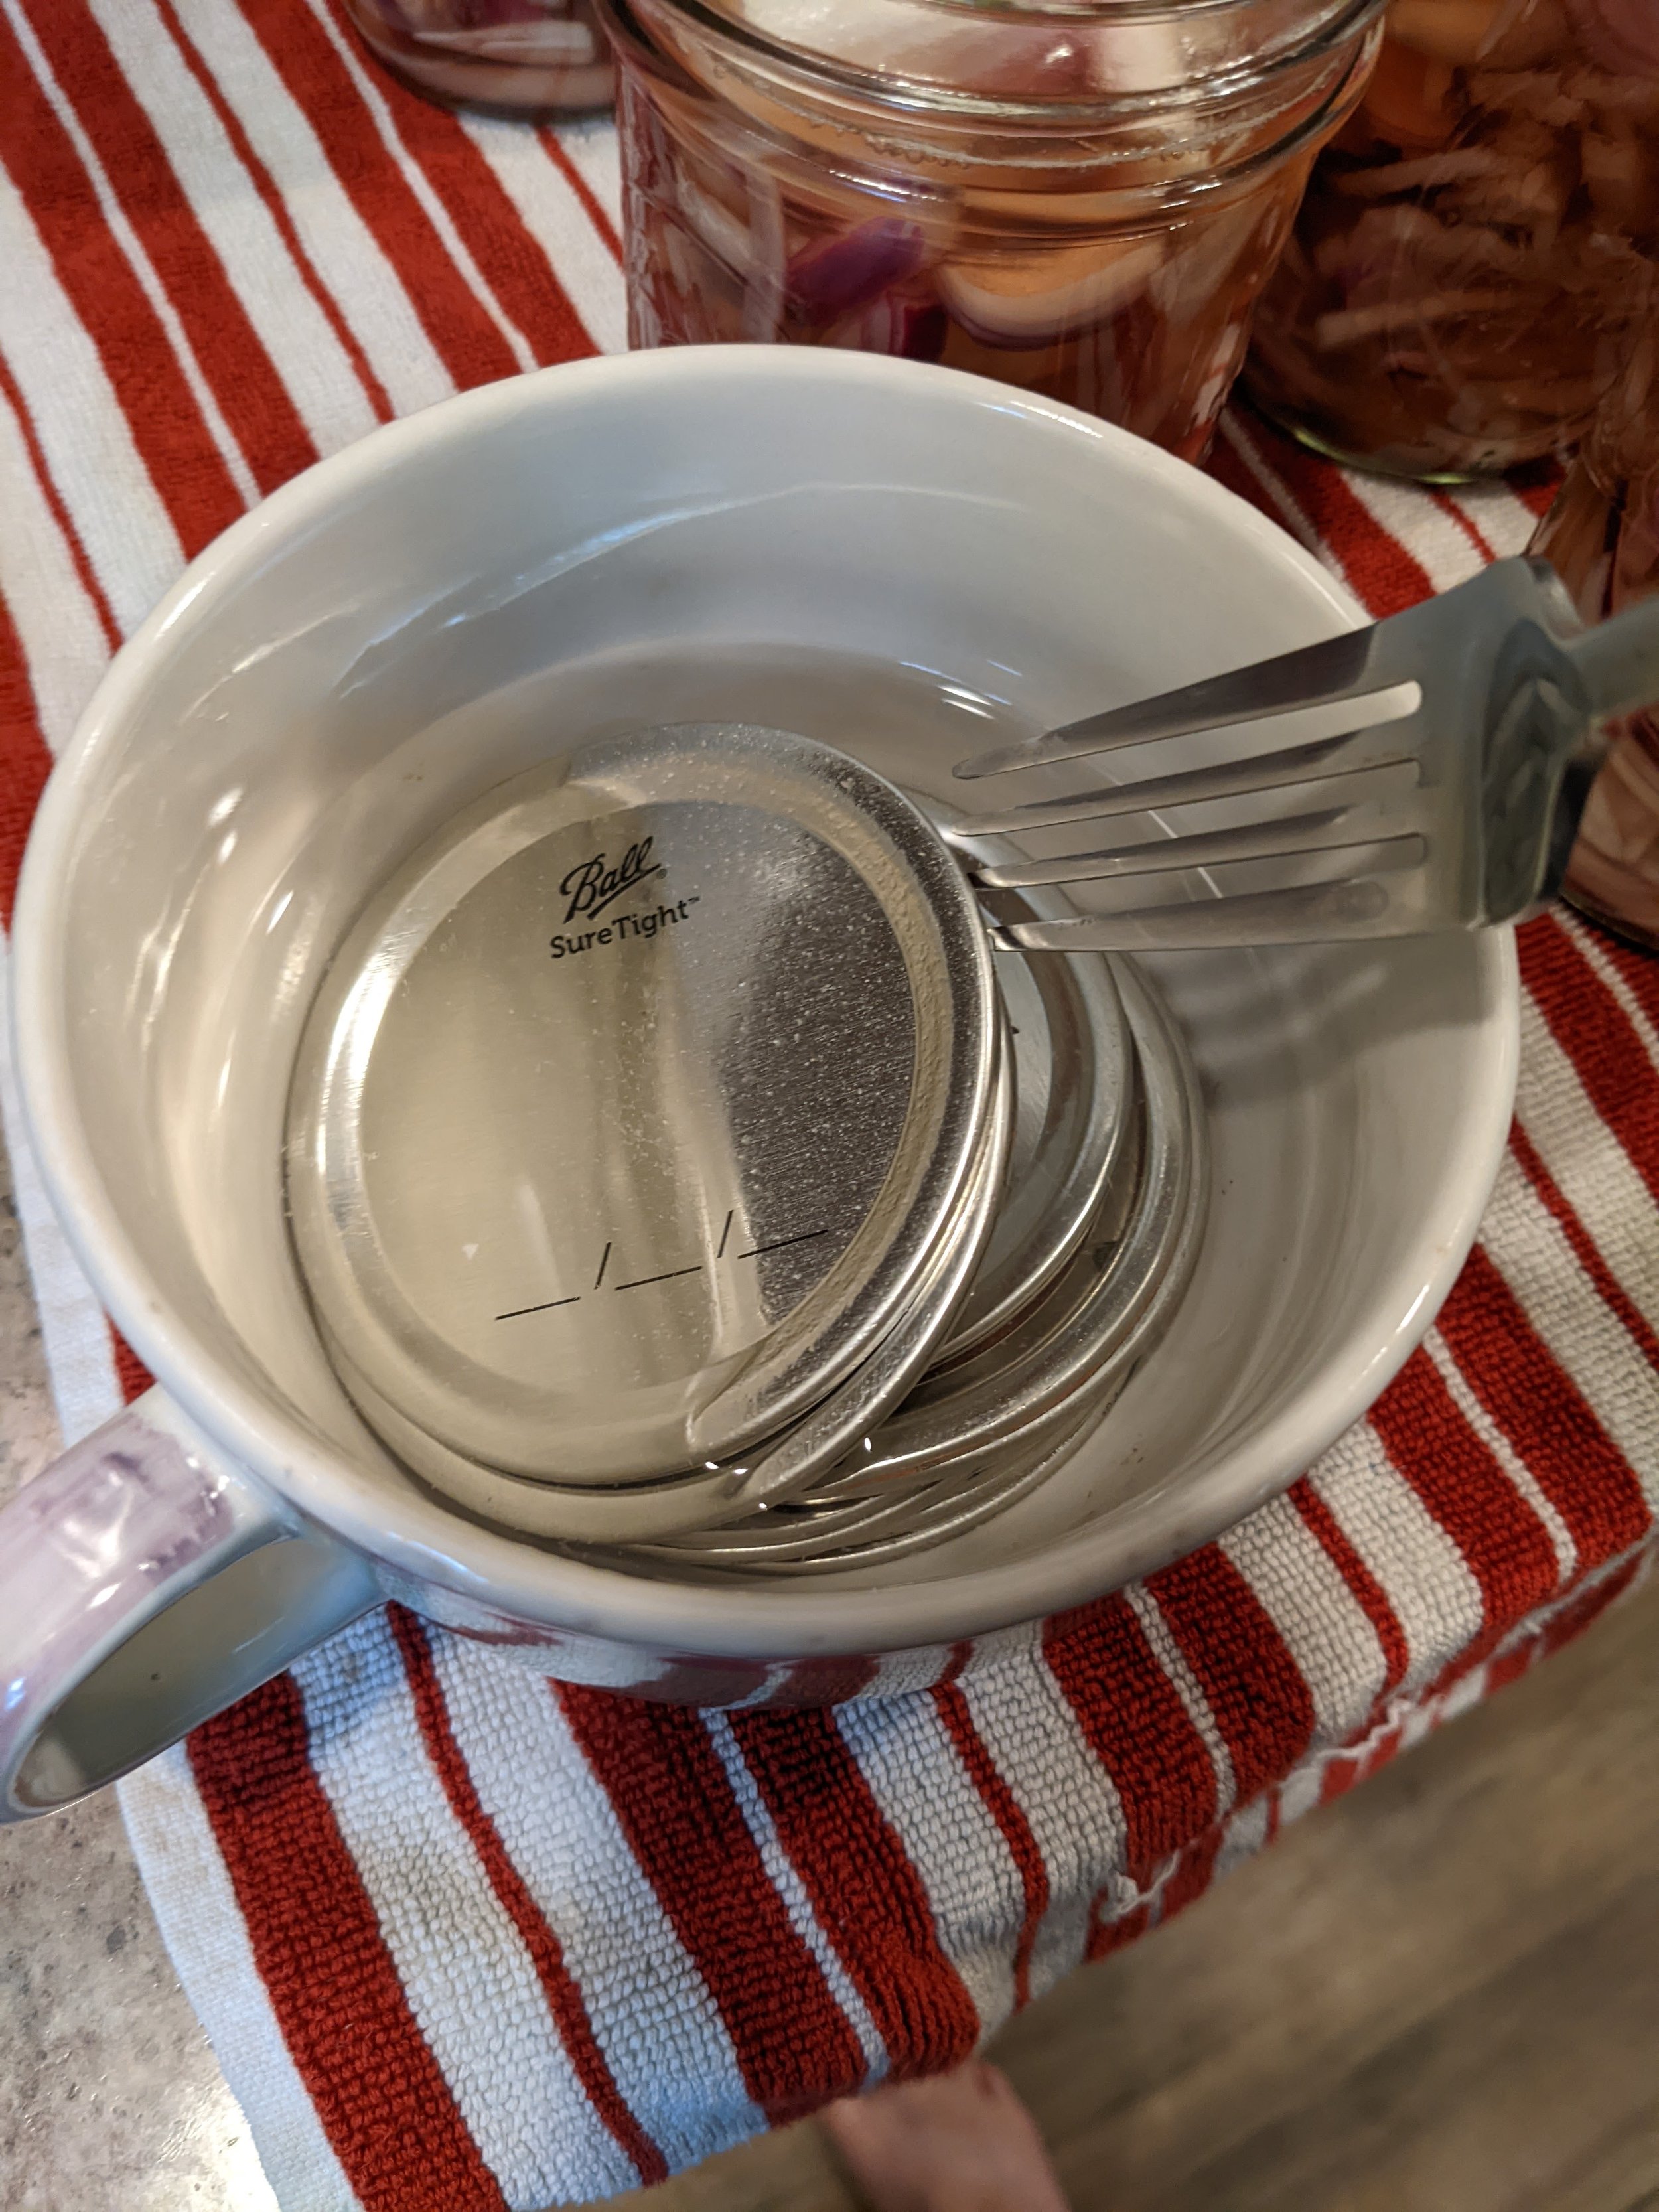
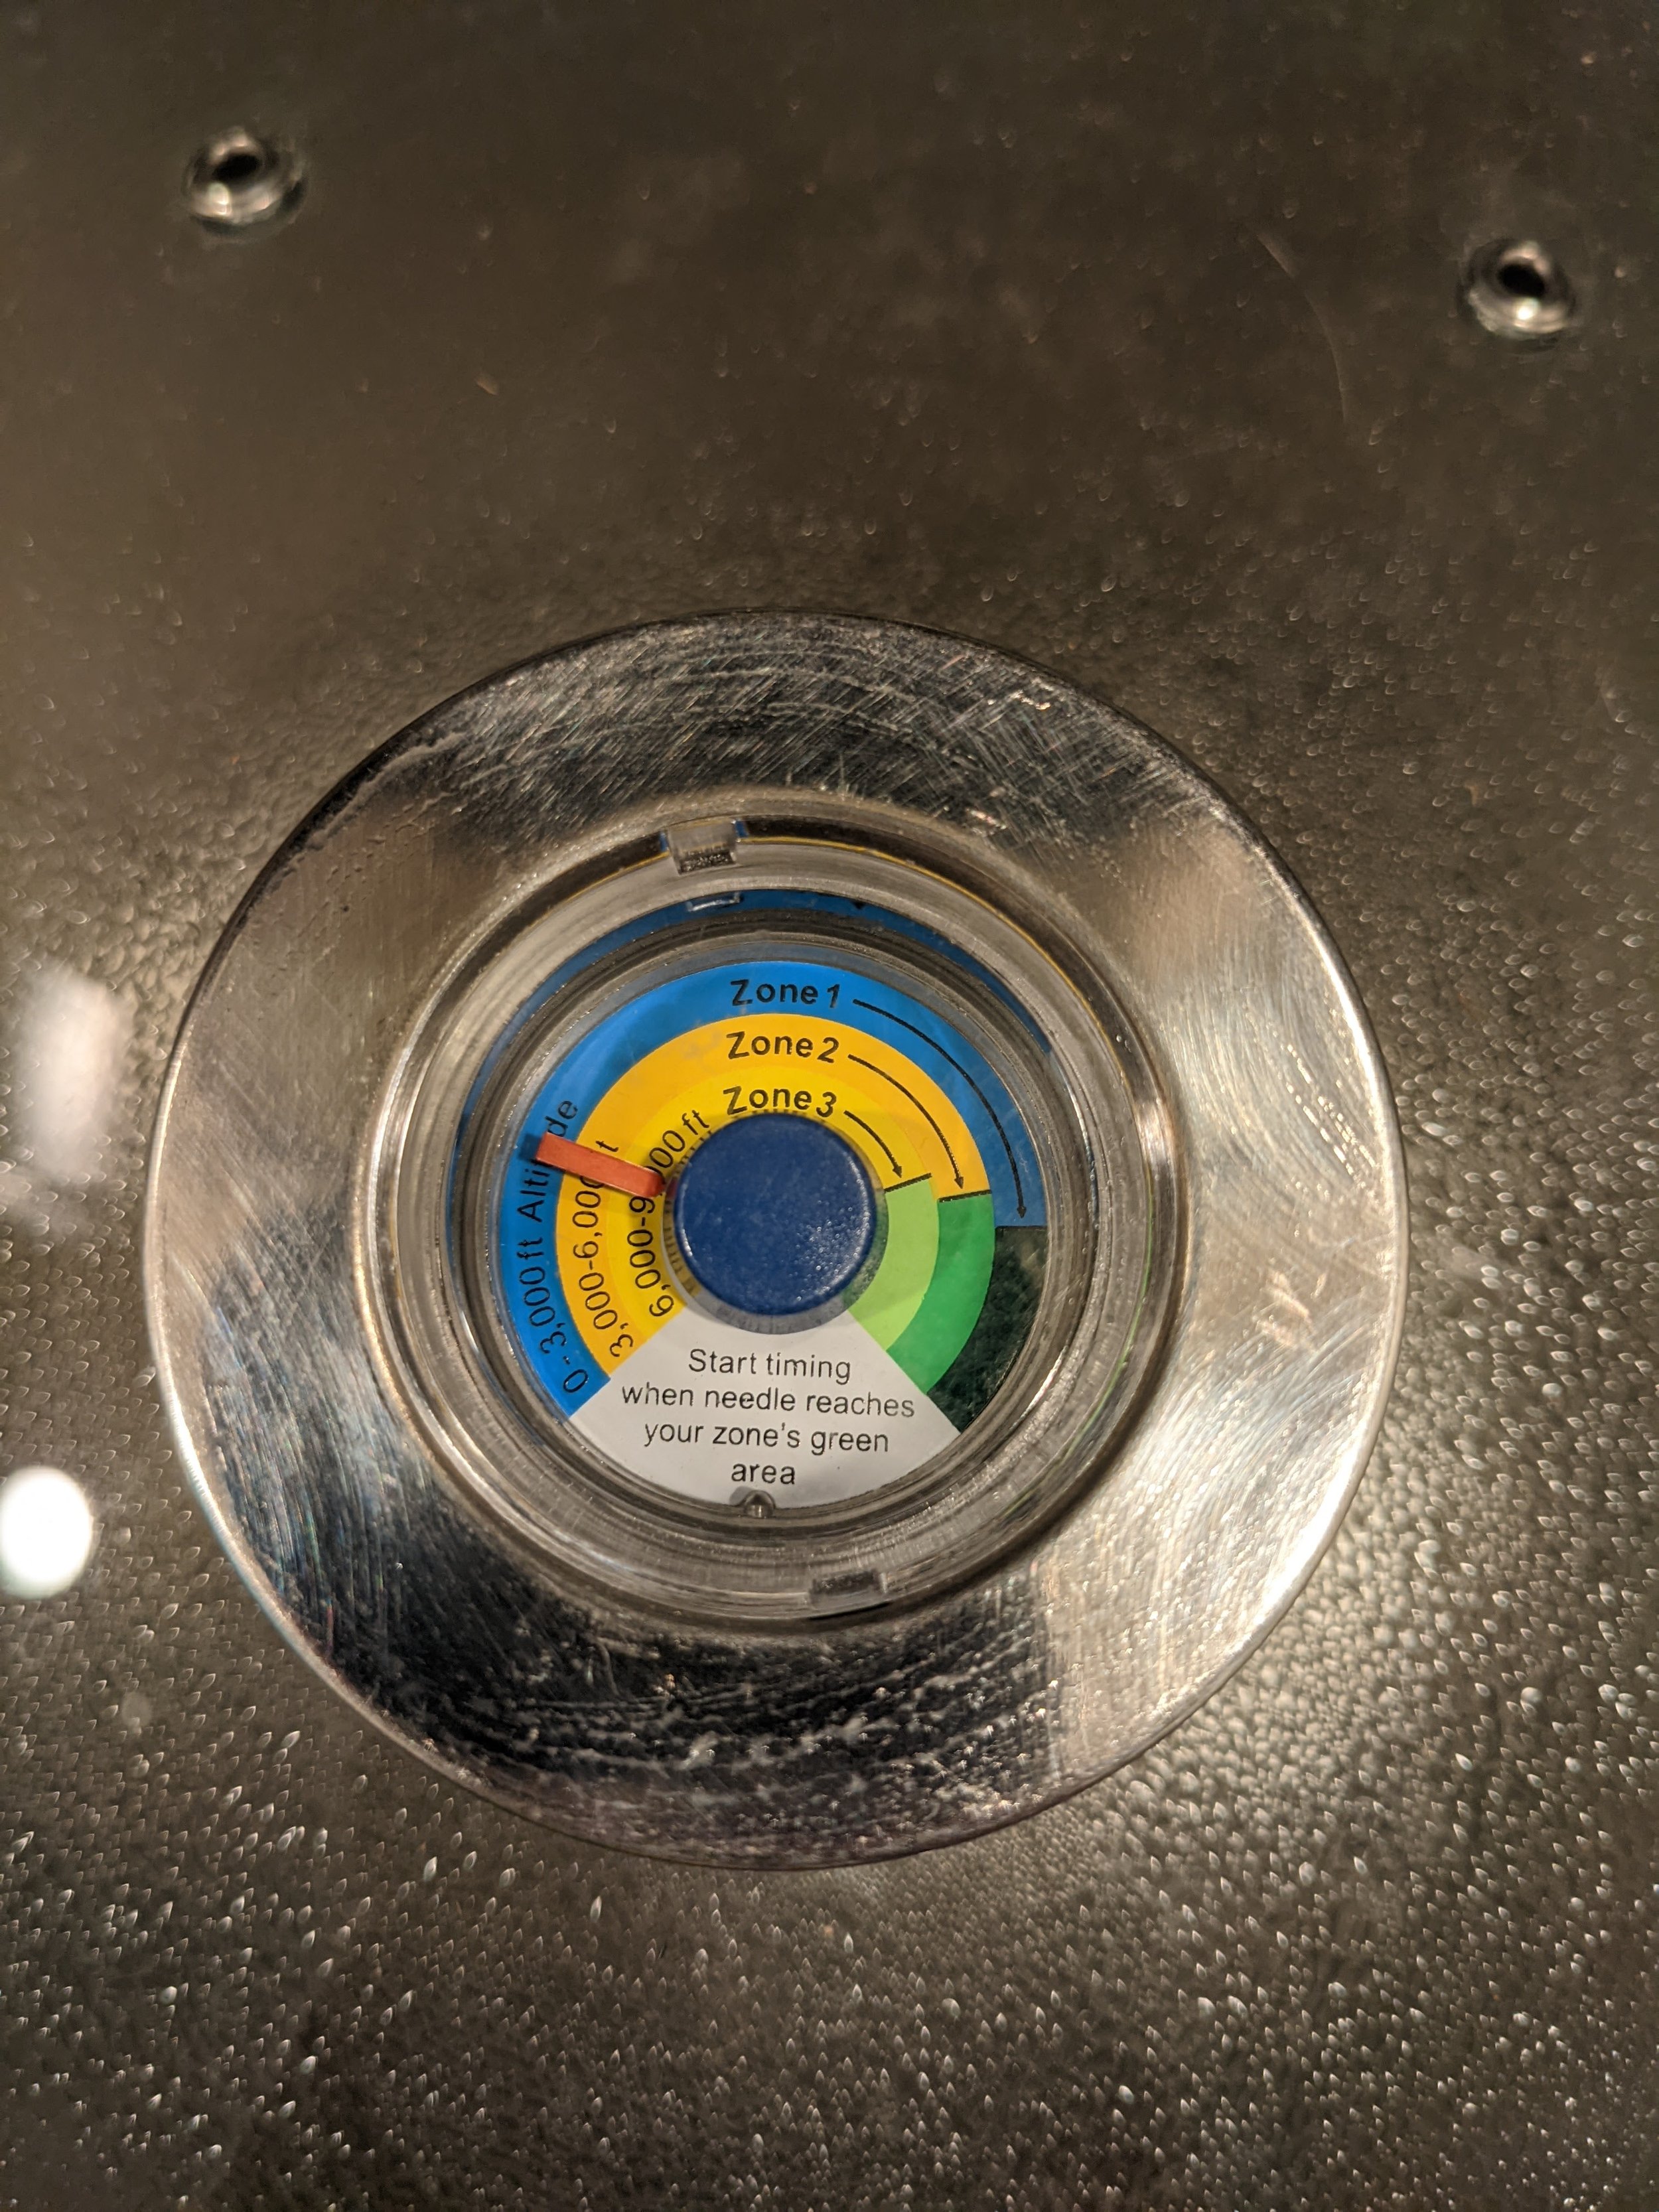
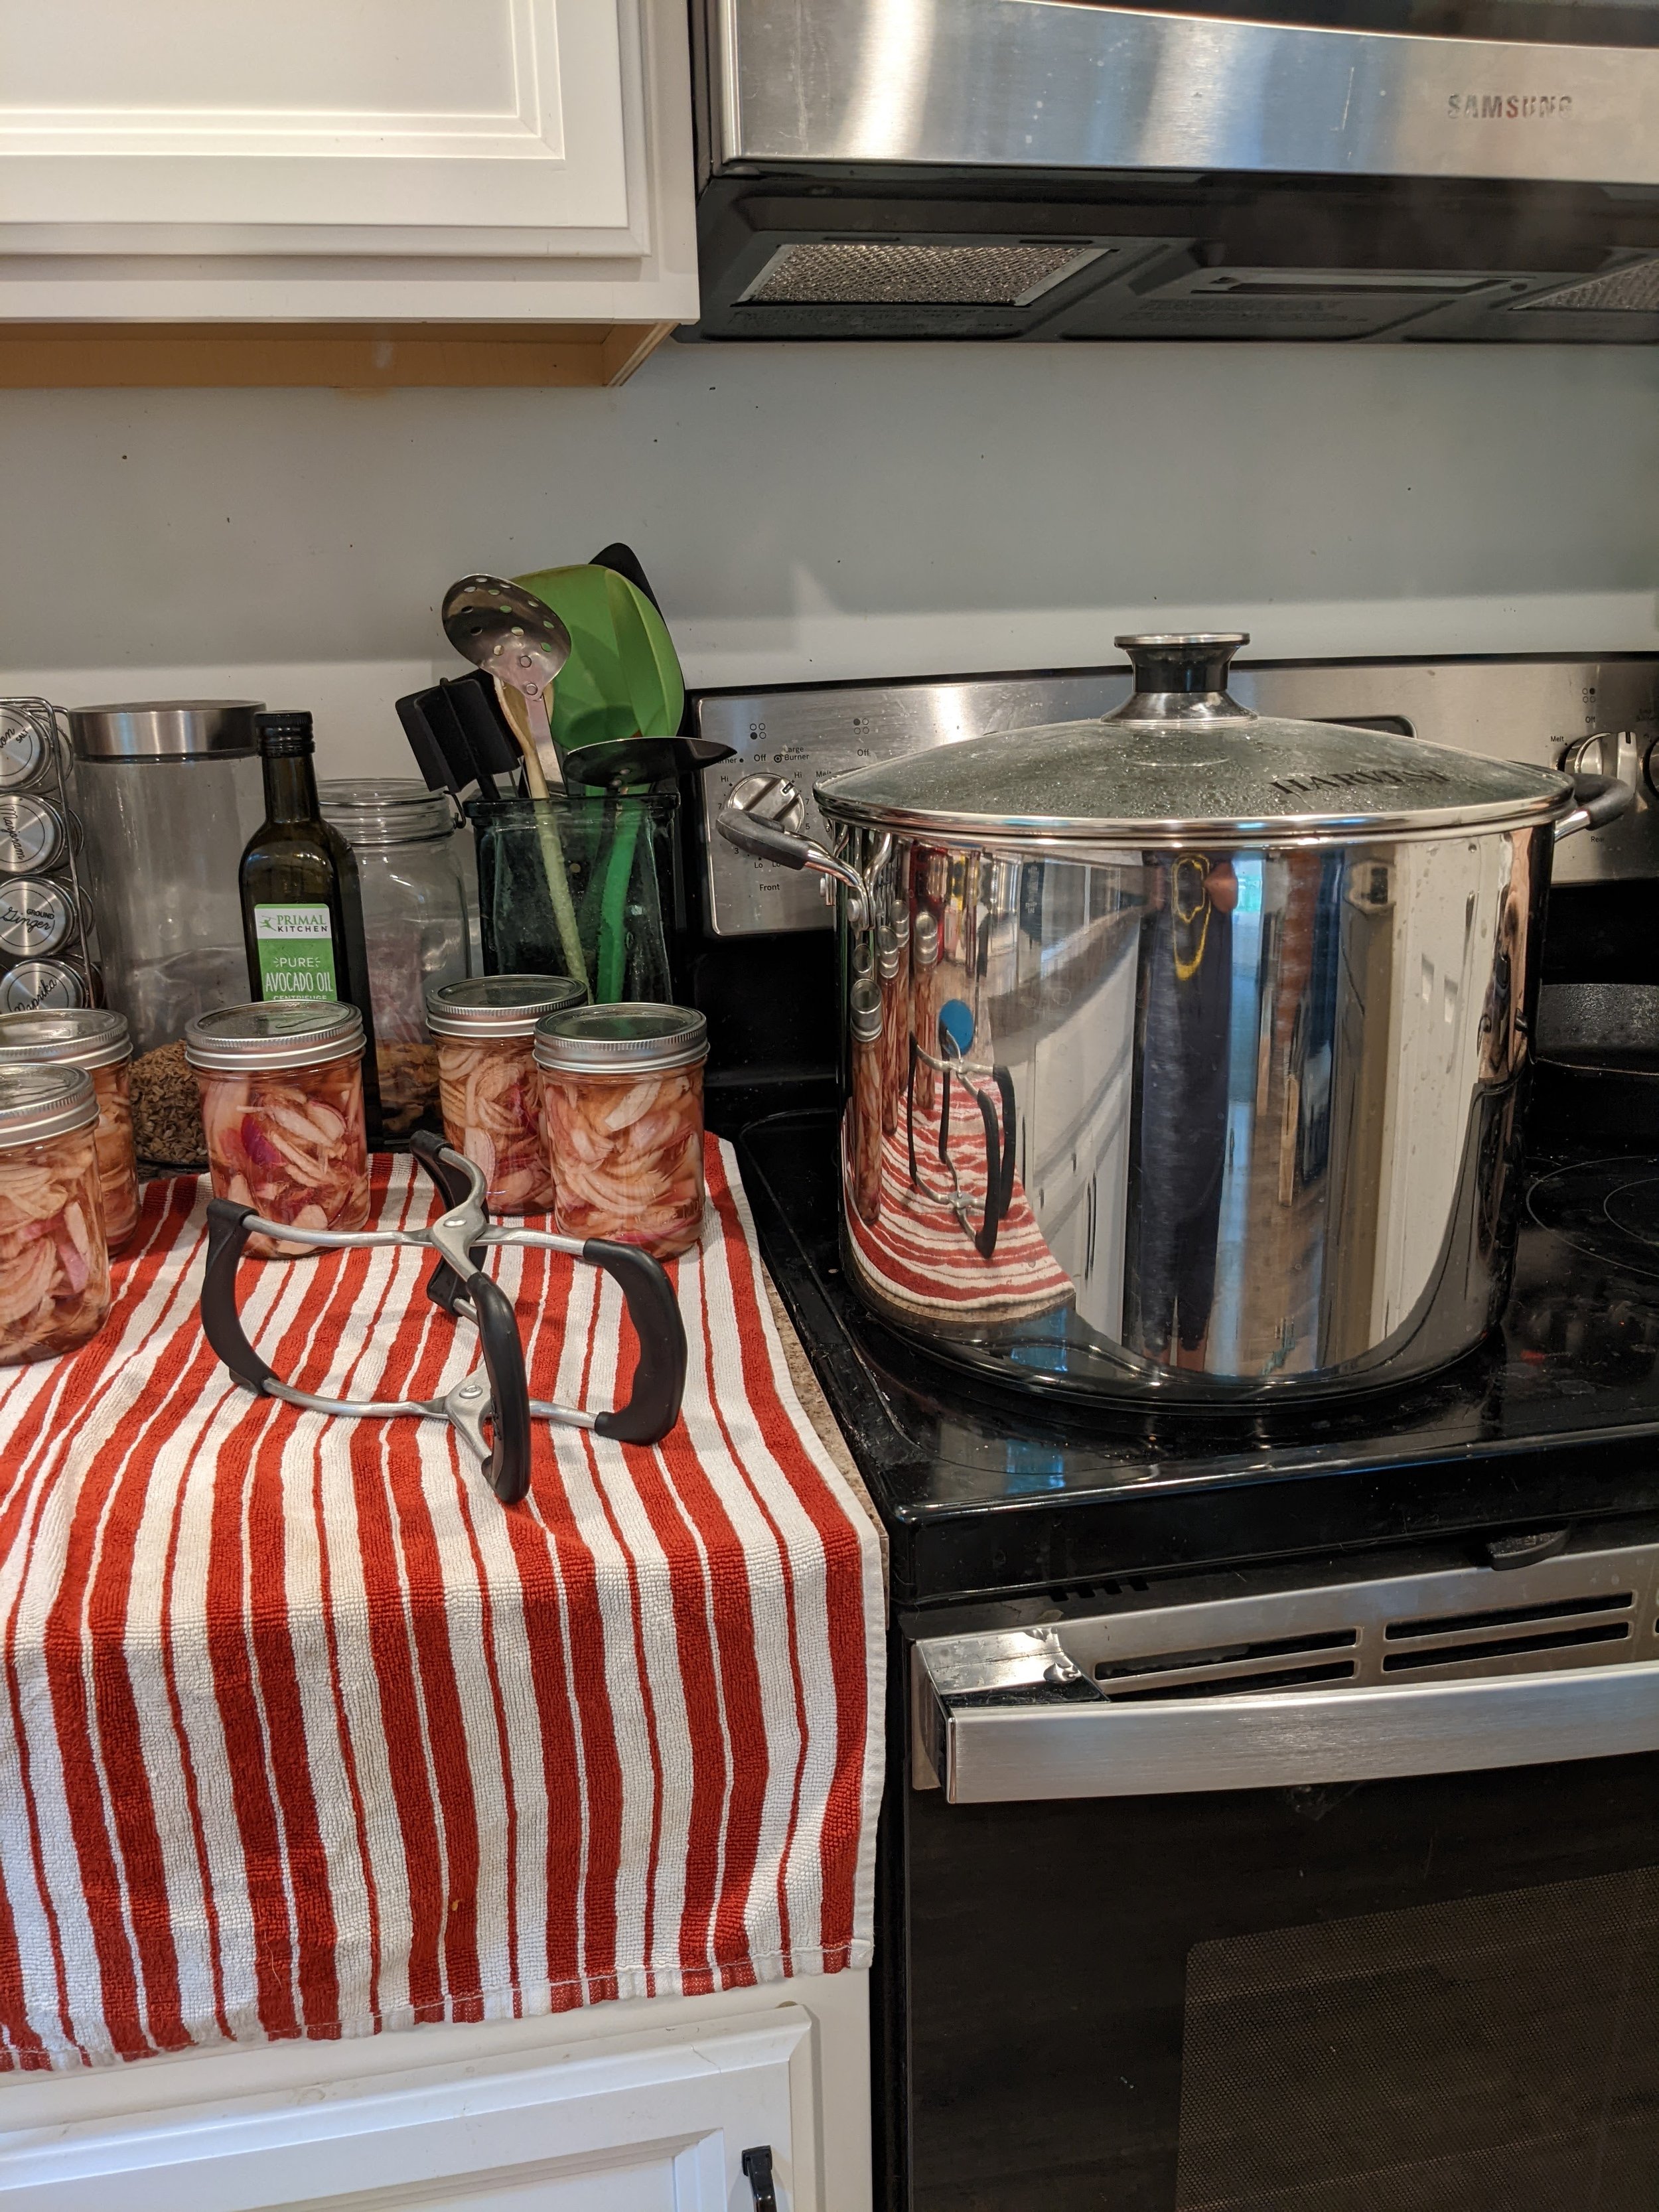
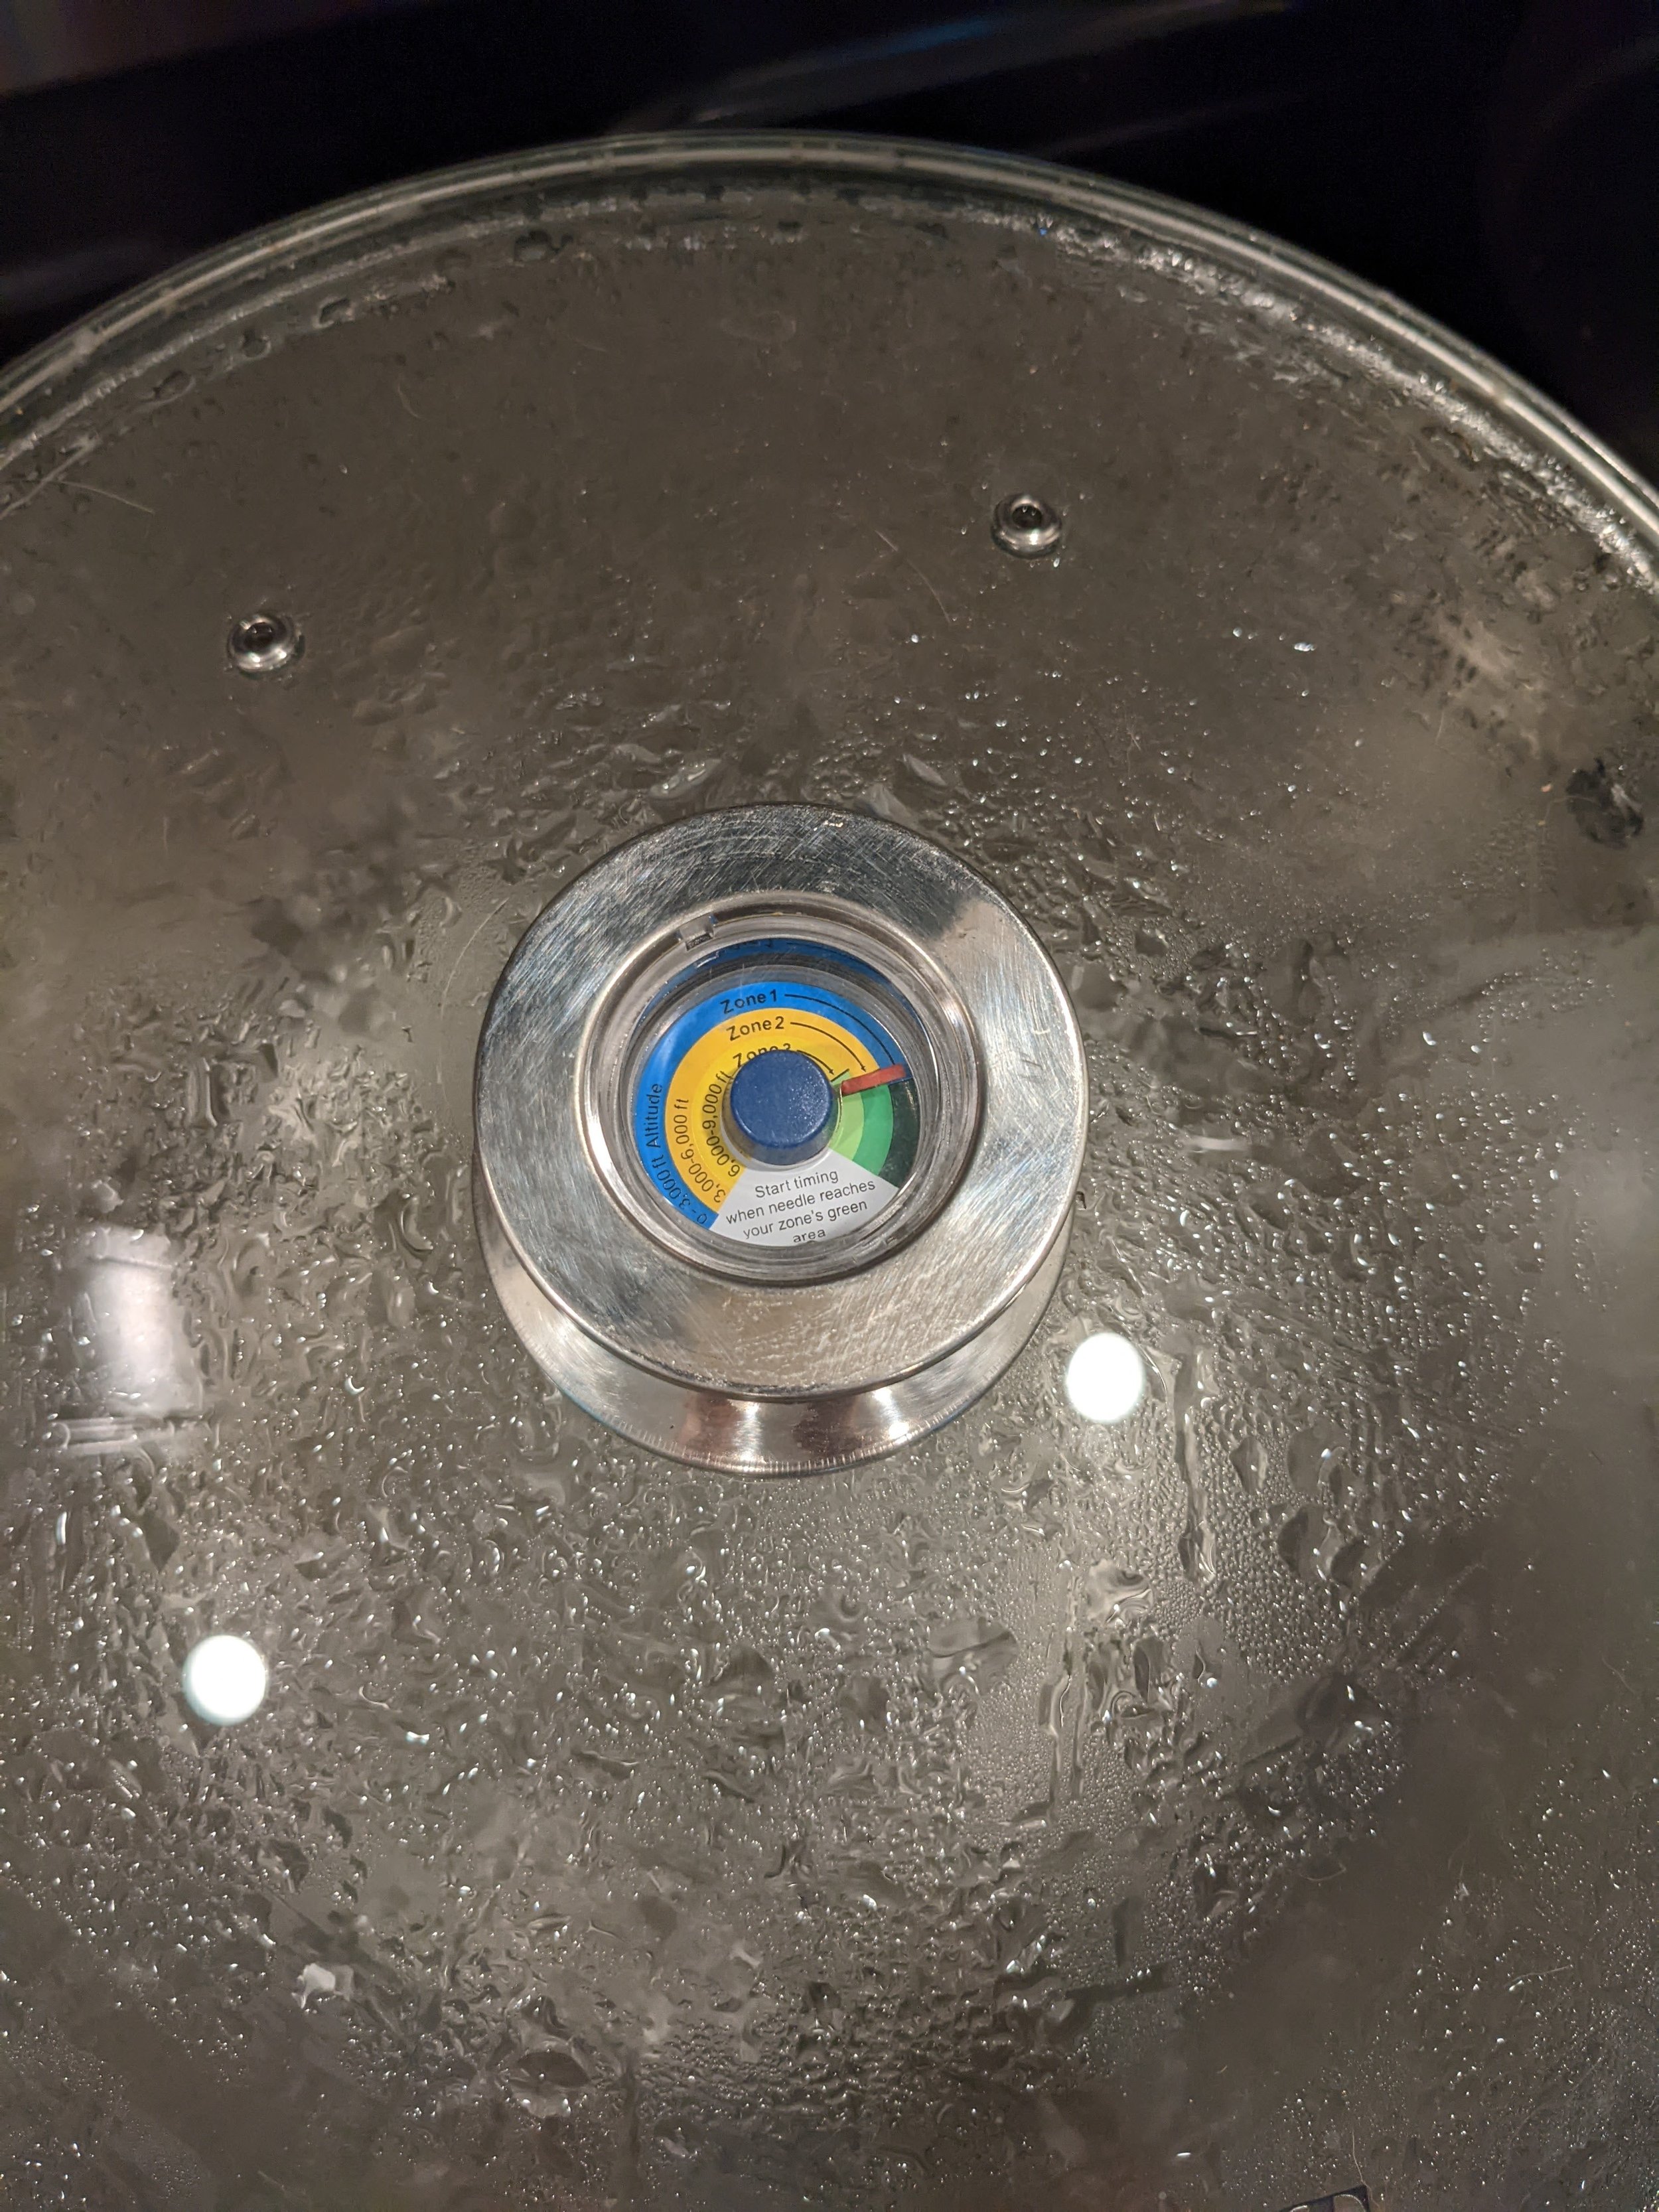
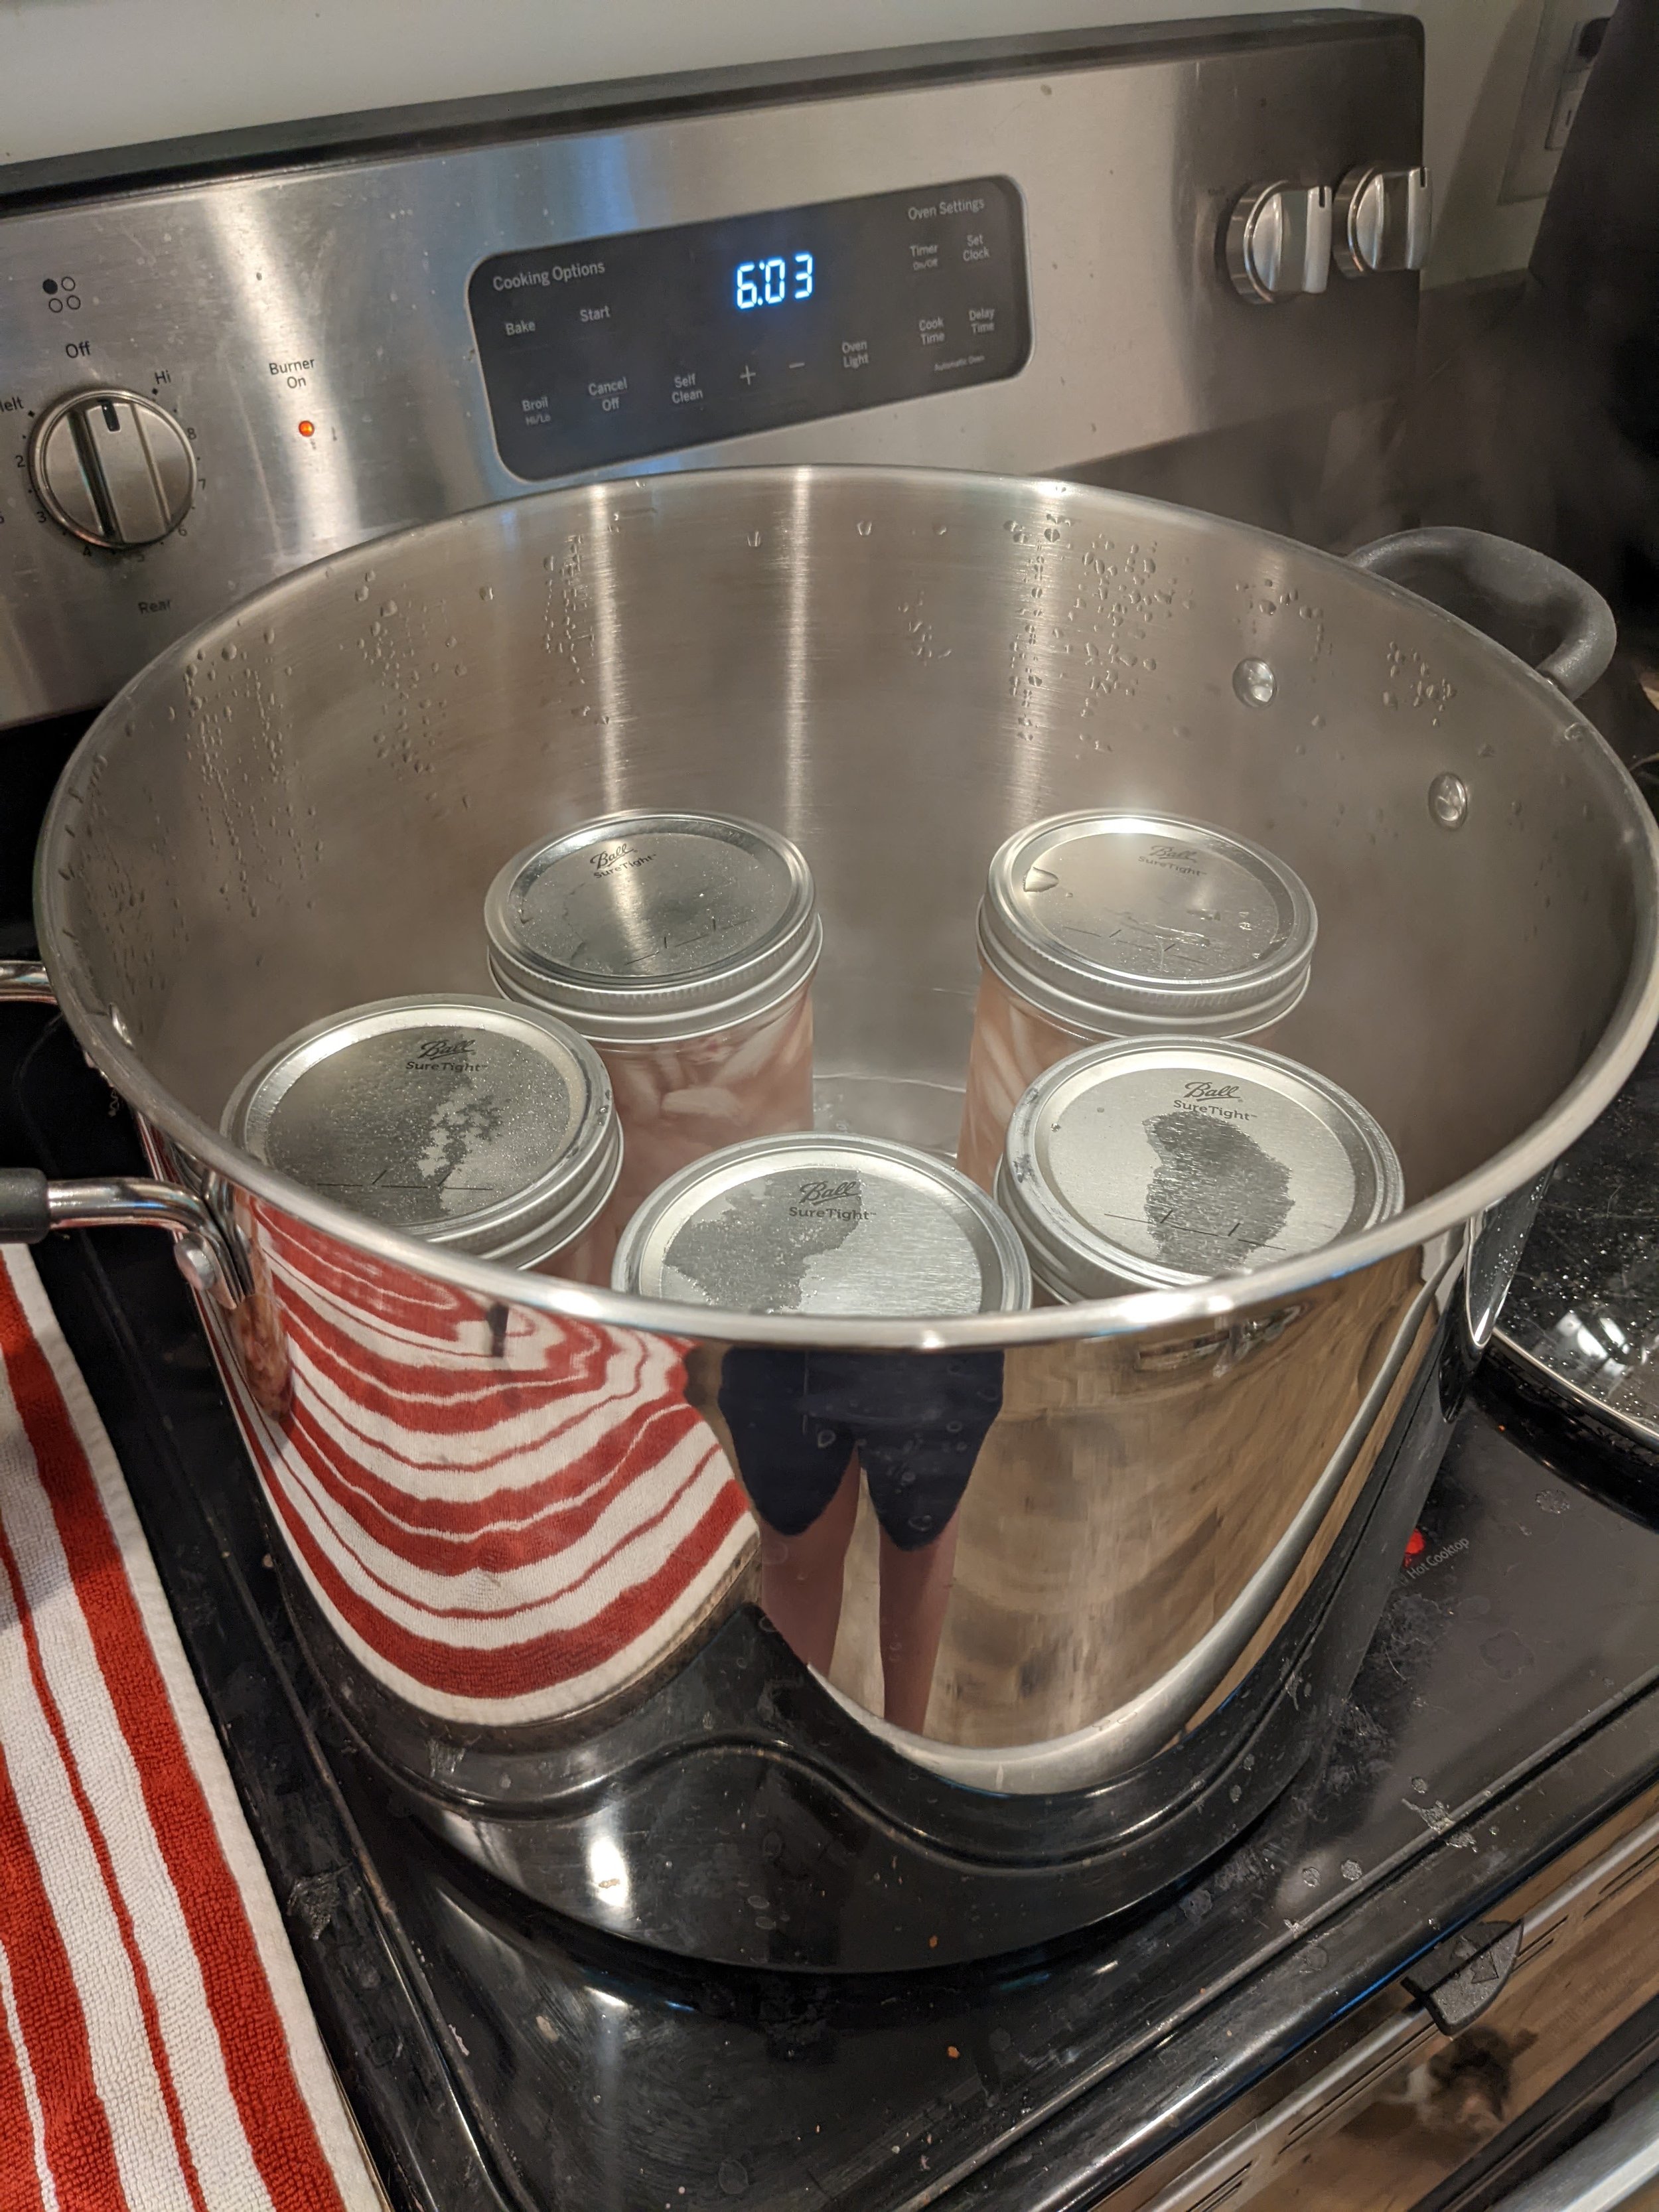
(Fancy) Equipment Note: For water bathing, all you really need is a big sturdy pot, tongs, and a canning funnel. Shown in the photos is a steam canner (not a pressure canner, even though they look a bit alike), which is a new and improved version of Grandma’s big water bath pot. Steam canners use less water (and hence less energy and time to heat to the right temperature), so if you’re buying new equipment, you might want to consider one.
Questions? Ask them in the Sustainability Matters Facebook Group! Sustainability Matters’ own (very modern) Grandma with the epic canning cellar, Deb Abercrombie, will answer everything she can (get it?!).